Parang La (5580m)
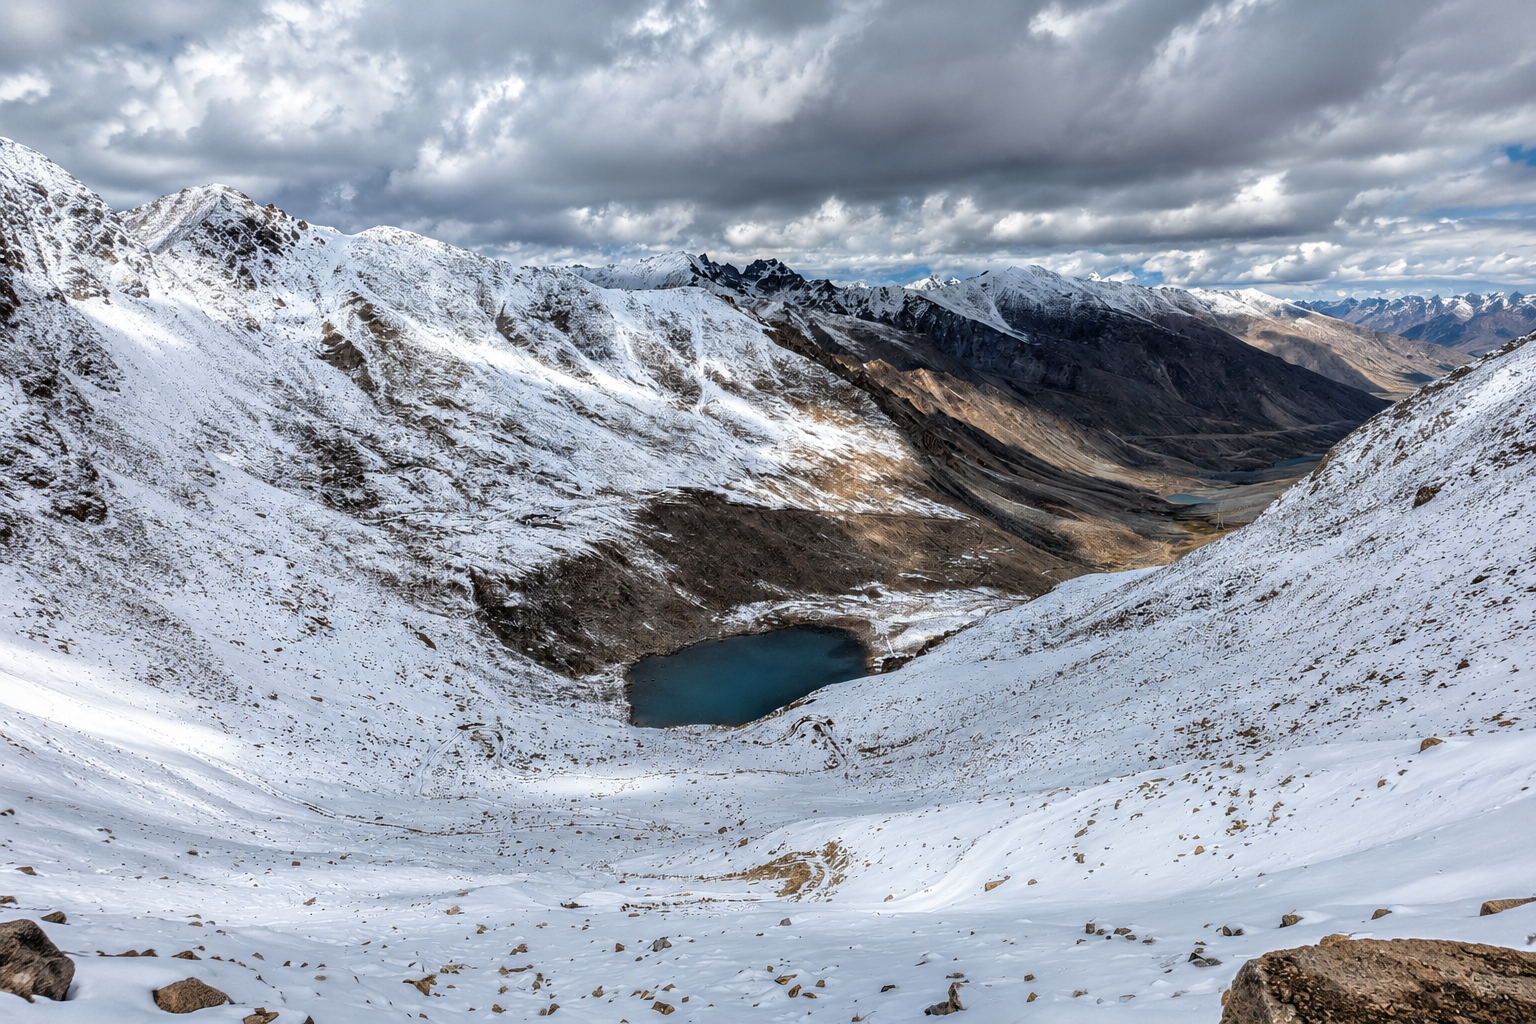
From the high villages of Spiti to the shores of Tso Moriri, Parang La is a remote journey through some of the most rugged landscapes of the Trans-Himalaya.
Quick Info
Altitude
5580m
Difficulty
Moderate – Difficult
Distance
70-102 Km
Base Village
Chicham / Kibber, Spiti
Duration
4-9 Days
Best Season
July – Sep
Duration and distance vary significantly with route, pace, acclimatisation, weather, river conditions and campsite selection.
Highlights
- Parang La Pass at ~5,580 m
- Spiti to Ladakh high-altitude crossing
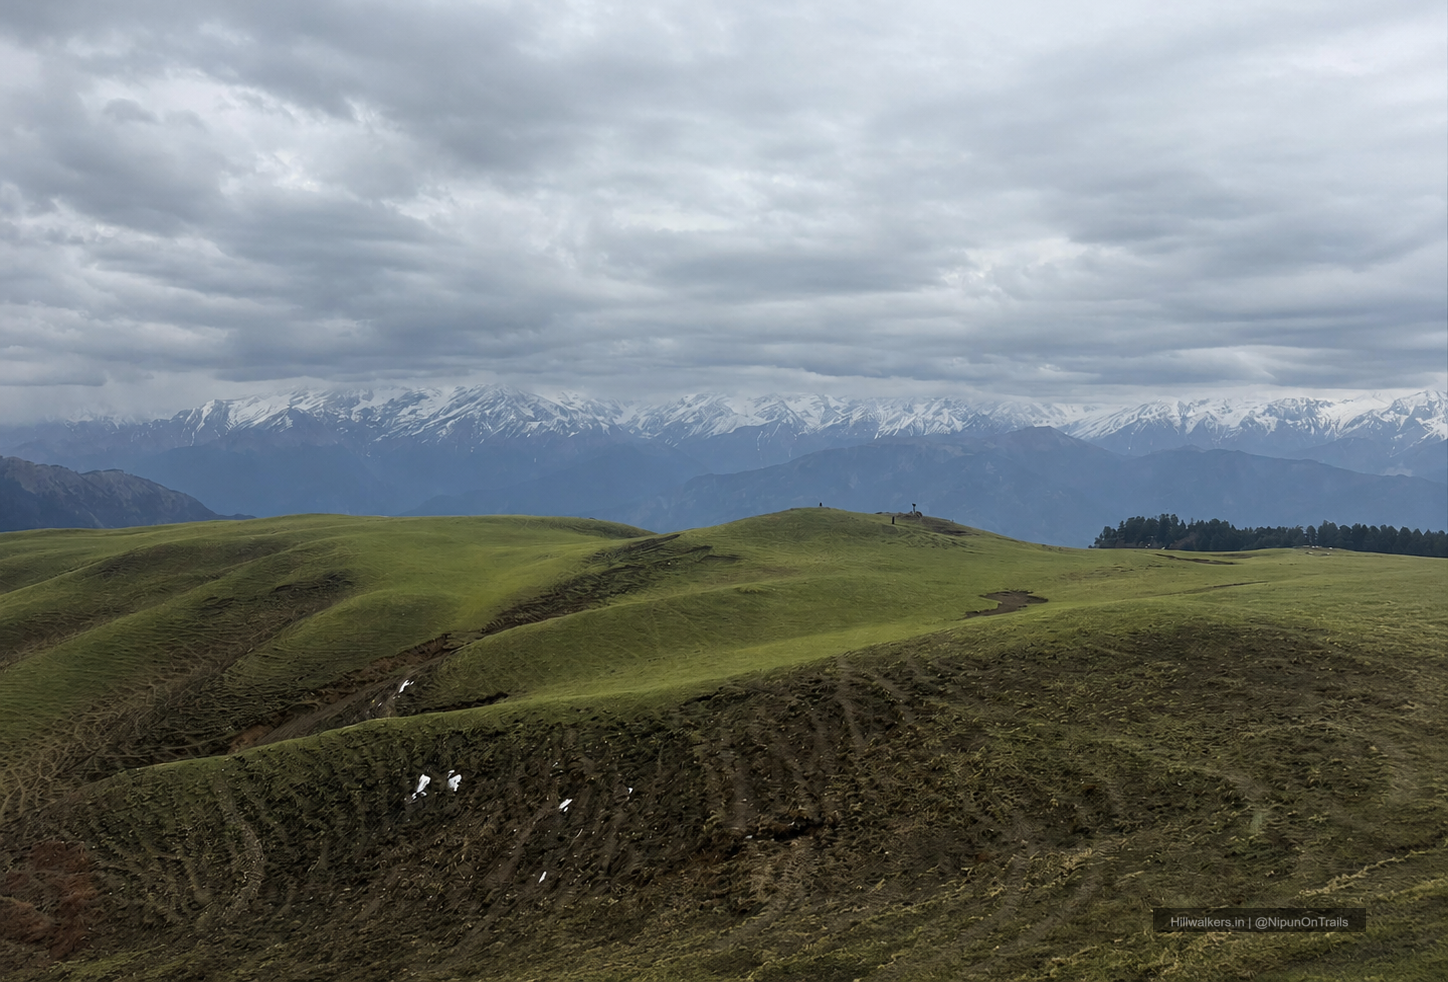
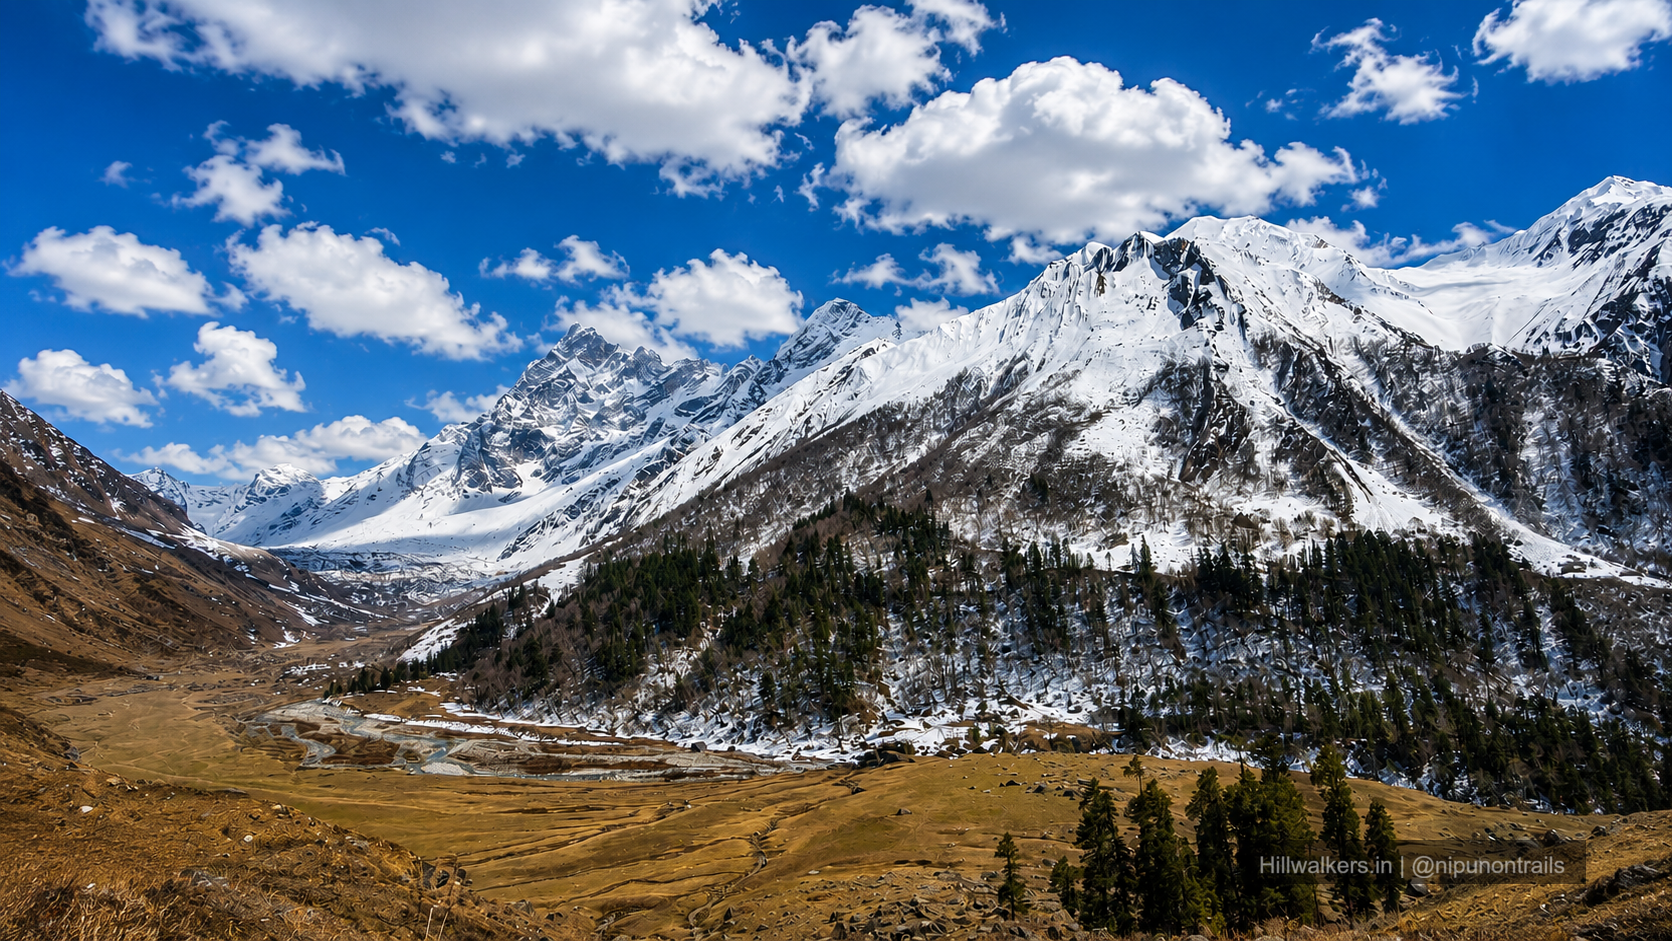
- Remote Trans-Himalayan landscapes
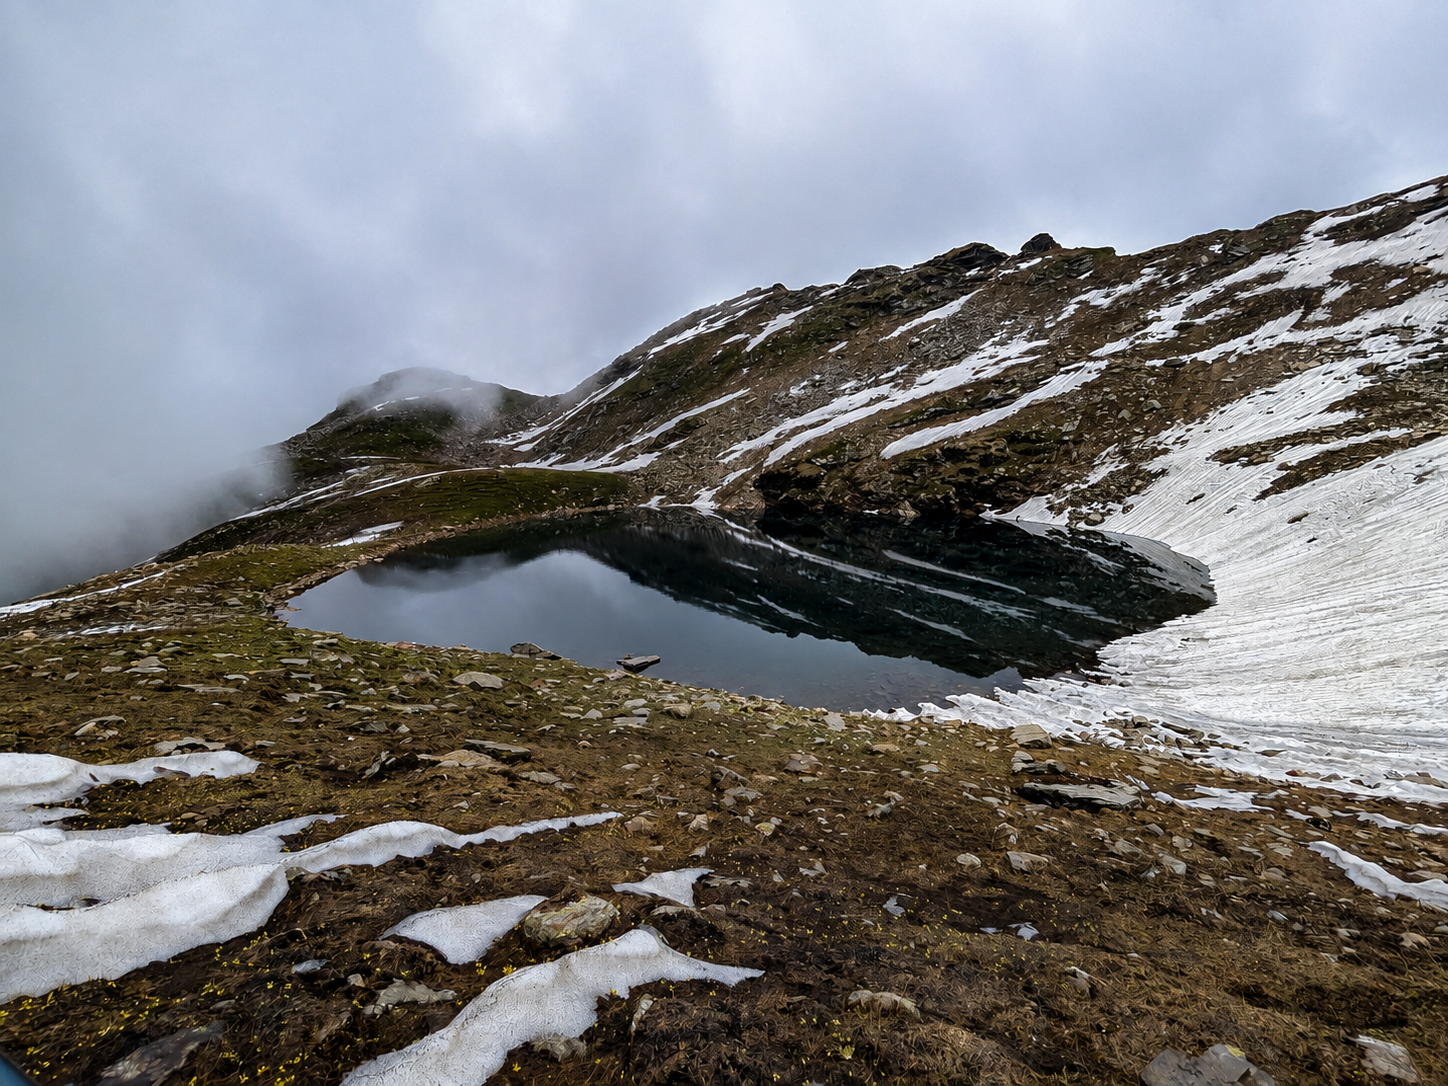
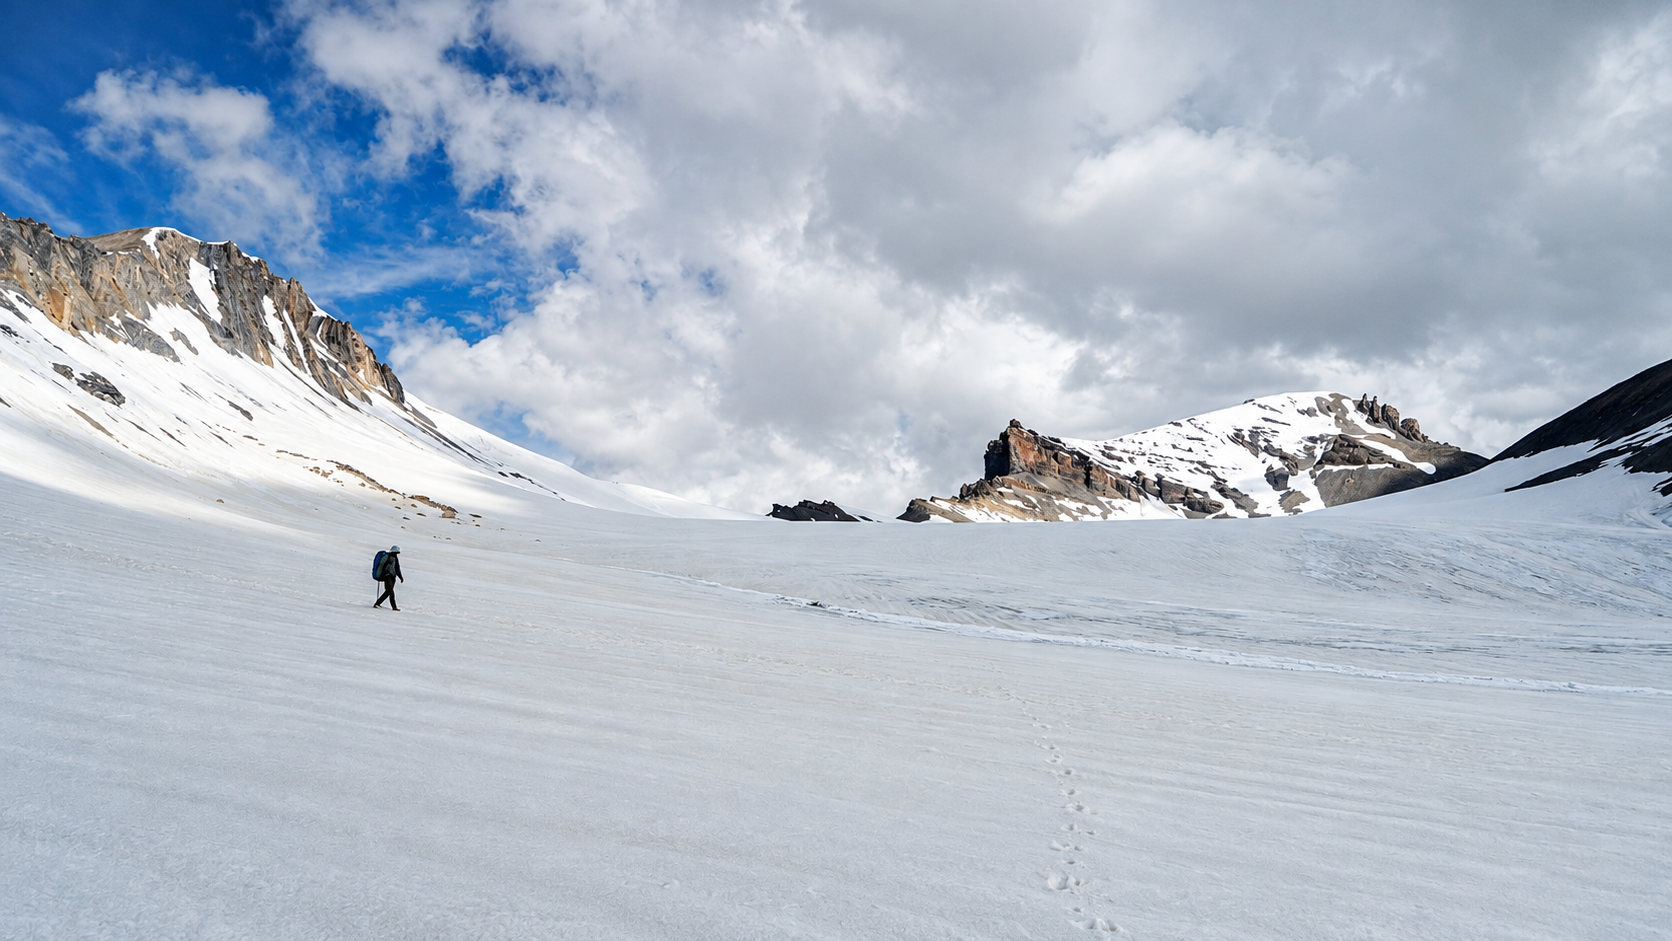
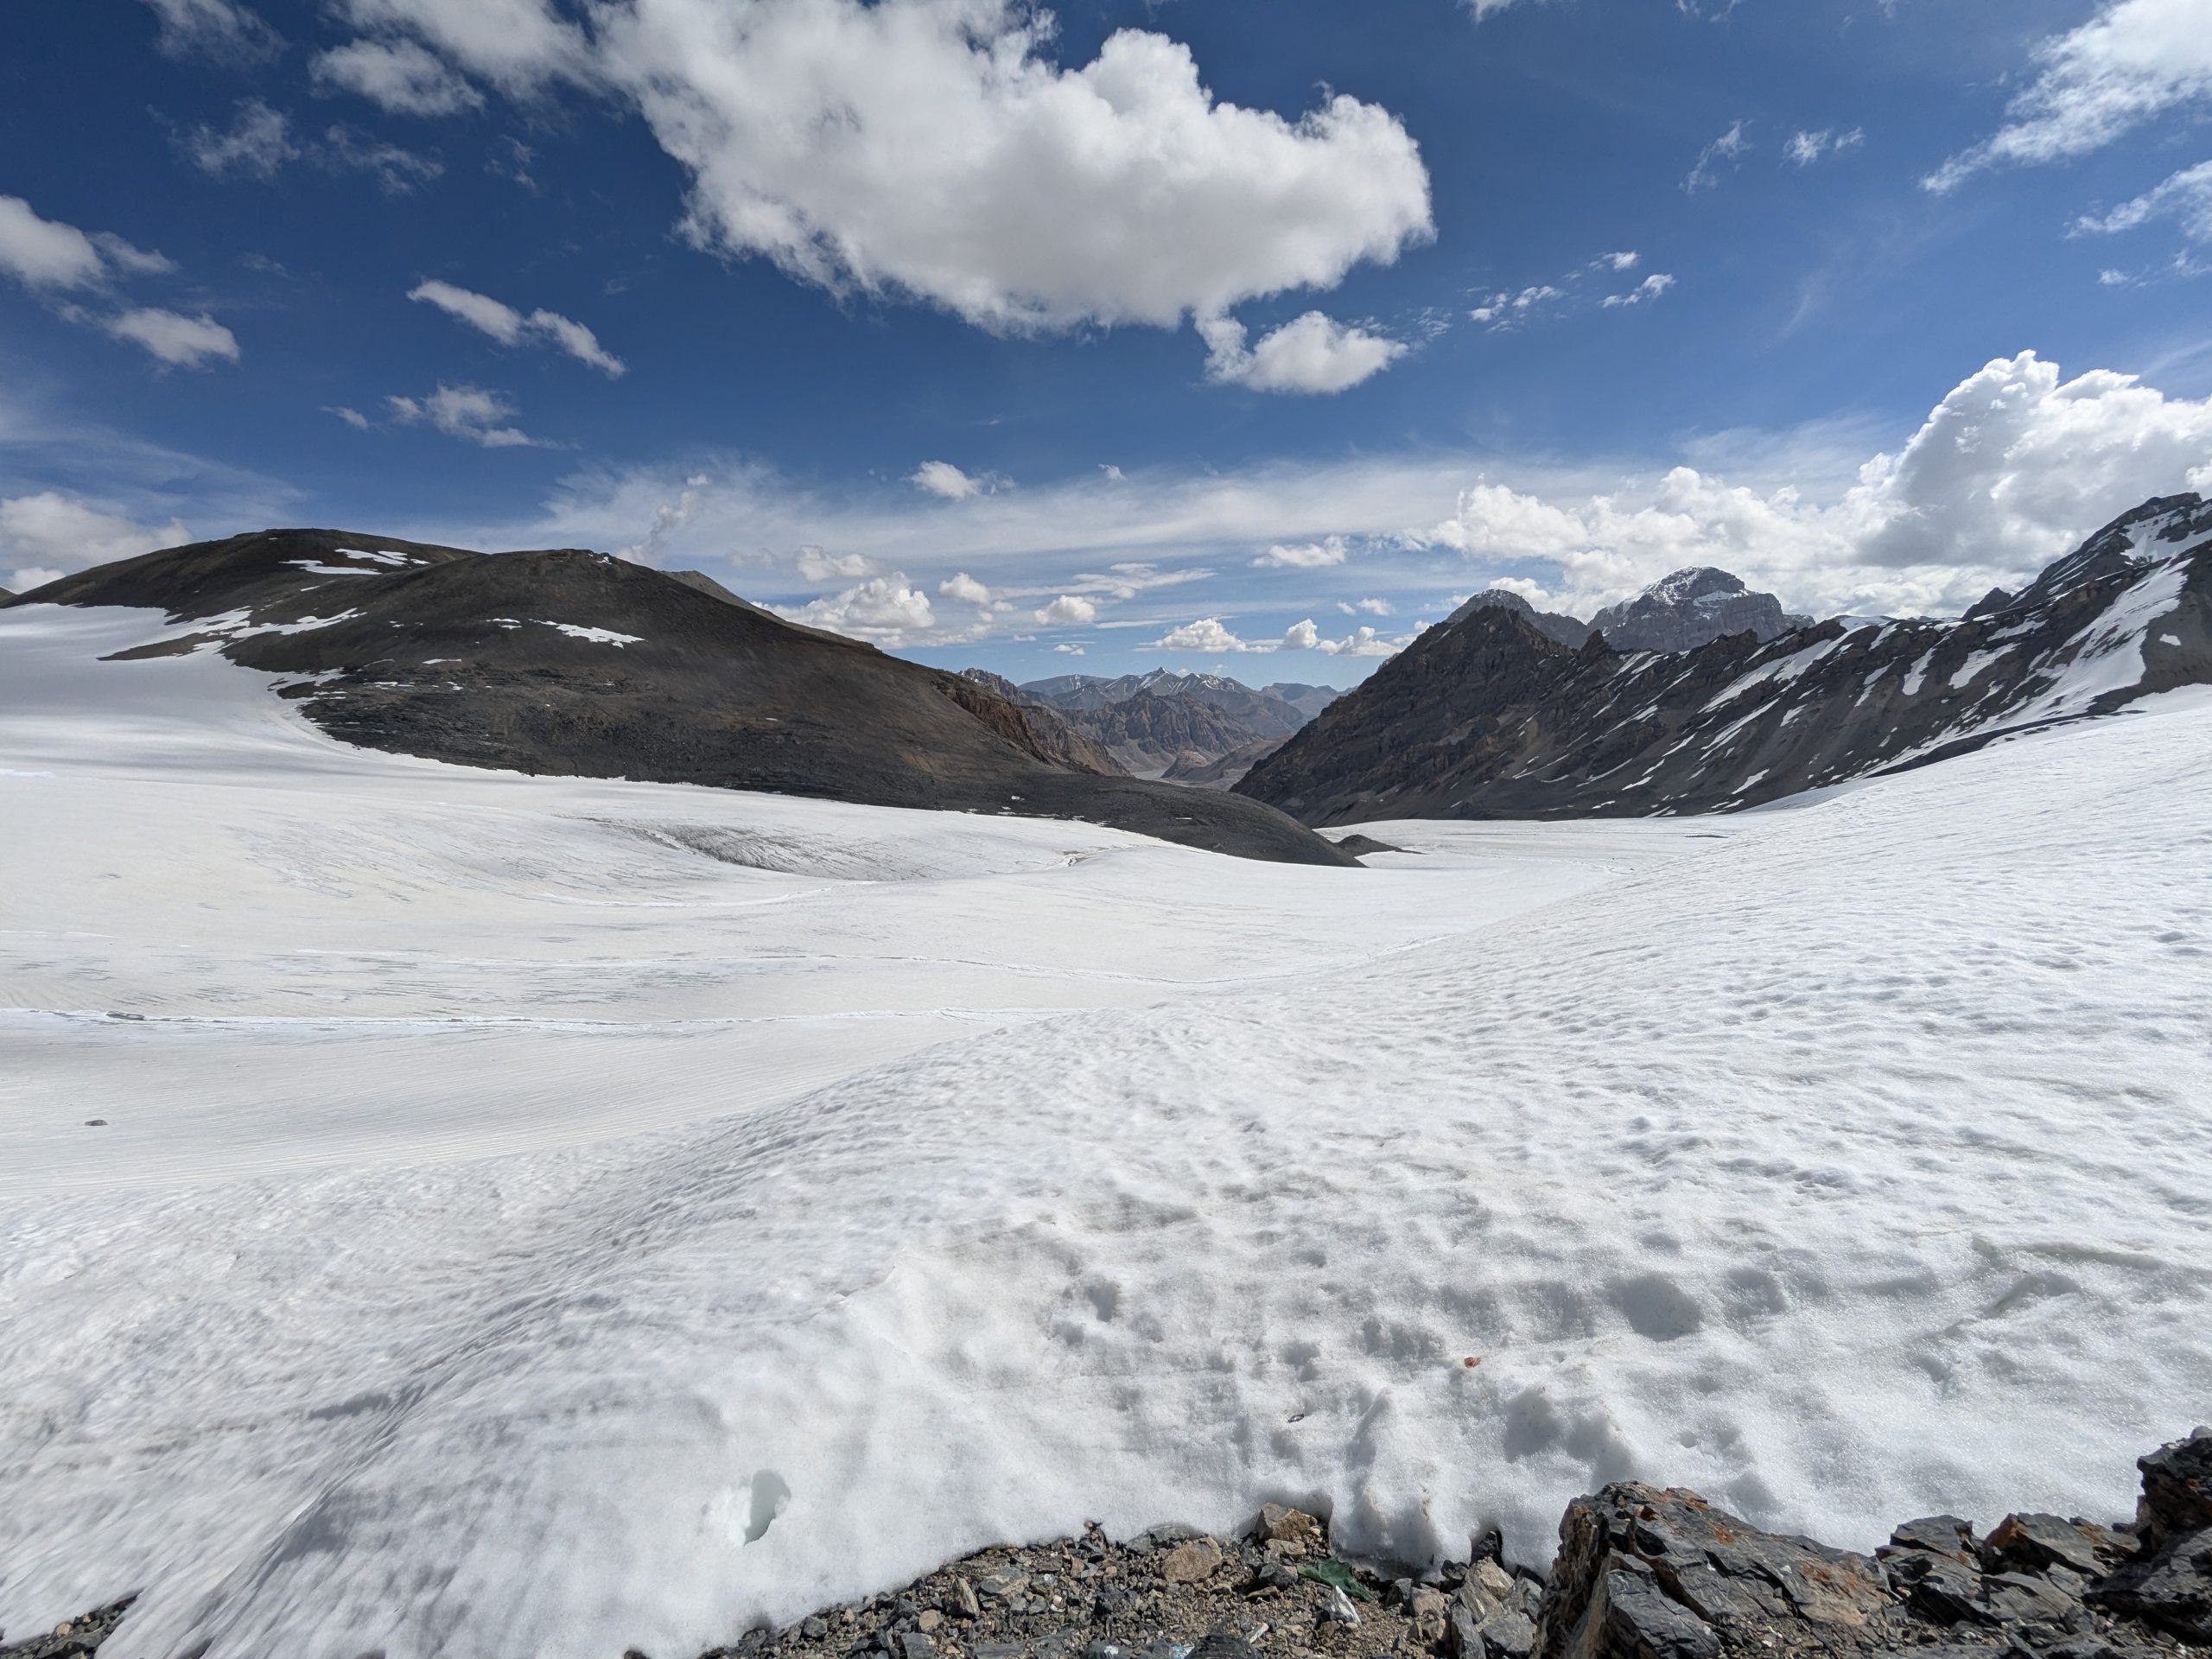
- Glacier and moraine terrain around the pass
- Long stretches along the Pare Chu
- High-altitude camps at Thaltak and Borochin
- Tso Moriri and Korzok at the end of the route
- Wildlife of the Changthang region
Overview
Parang La is a remote high-altitude crossing between Spiti and Ladakh, following an old route through some of the most isolated landscapes of the Trans-Himalaya.
The trek can start from Chicham or Kibber in Spiti and eventually reaches Korzok on the shores of Tso Moriri.
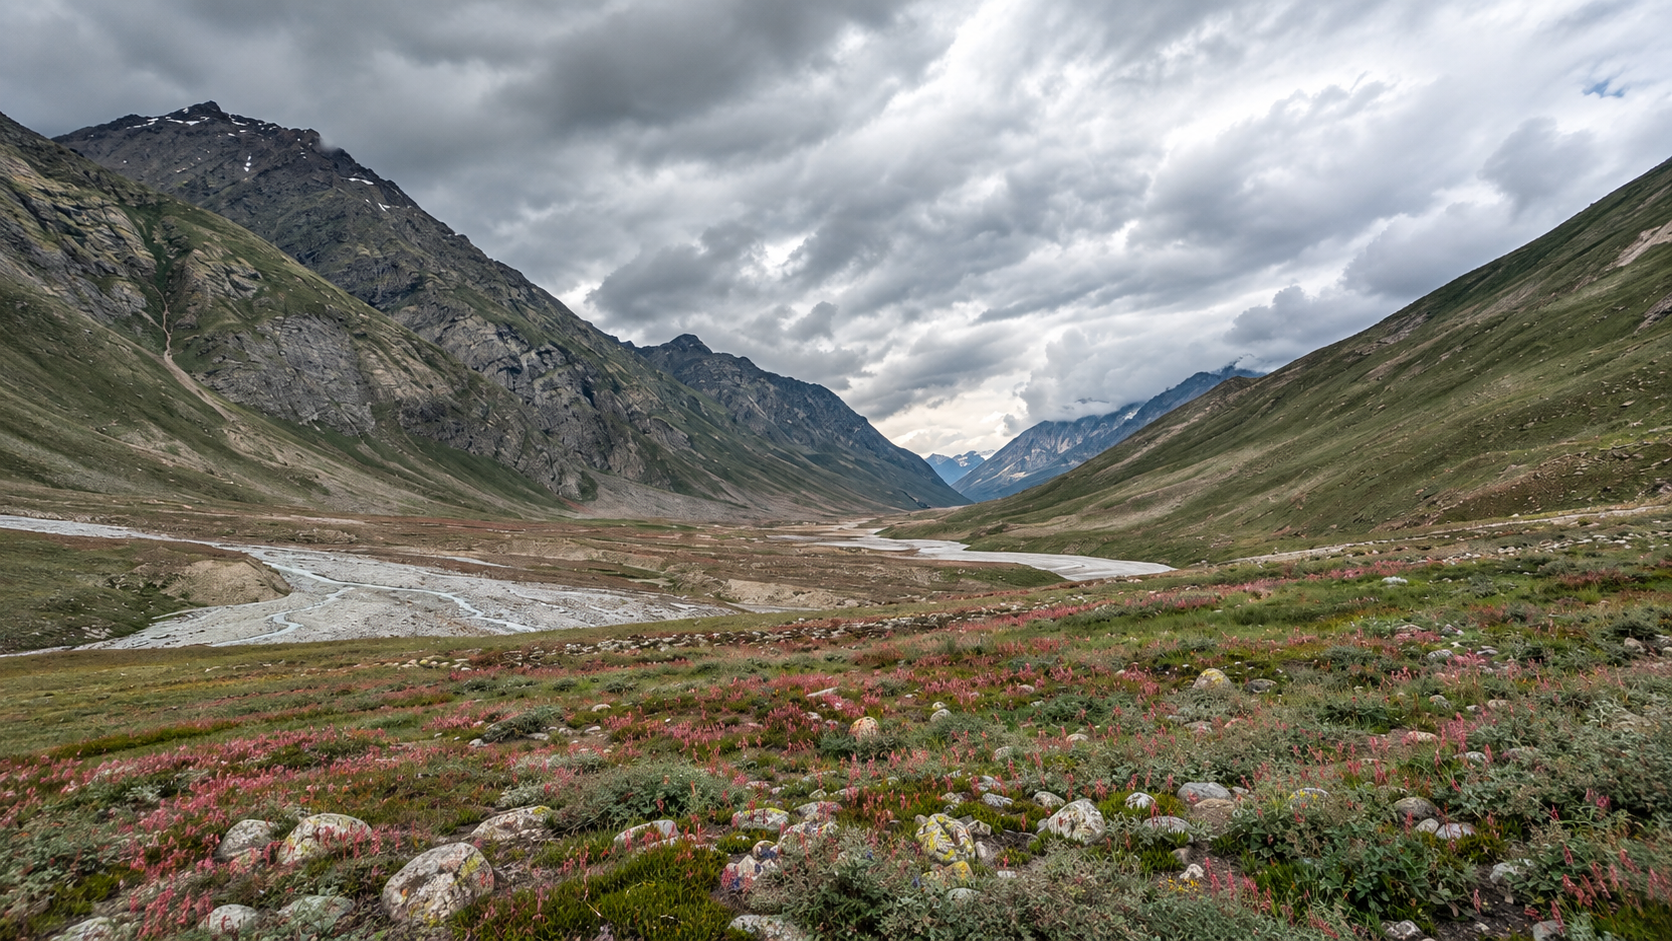
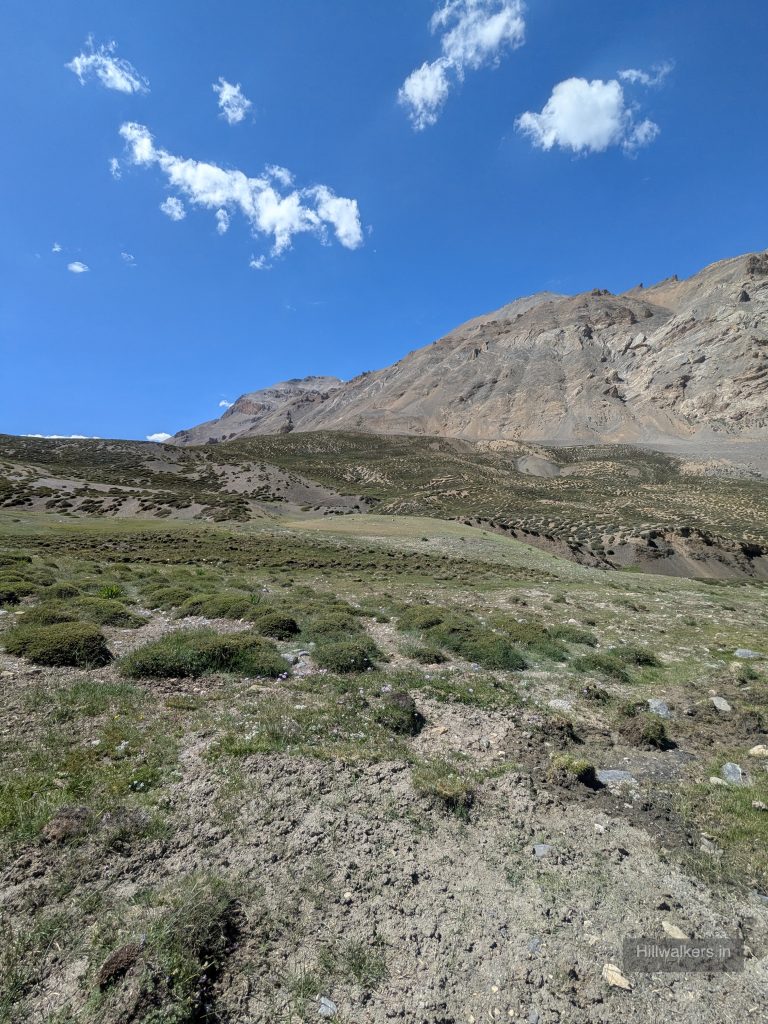
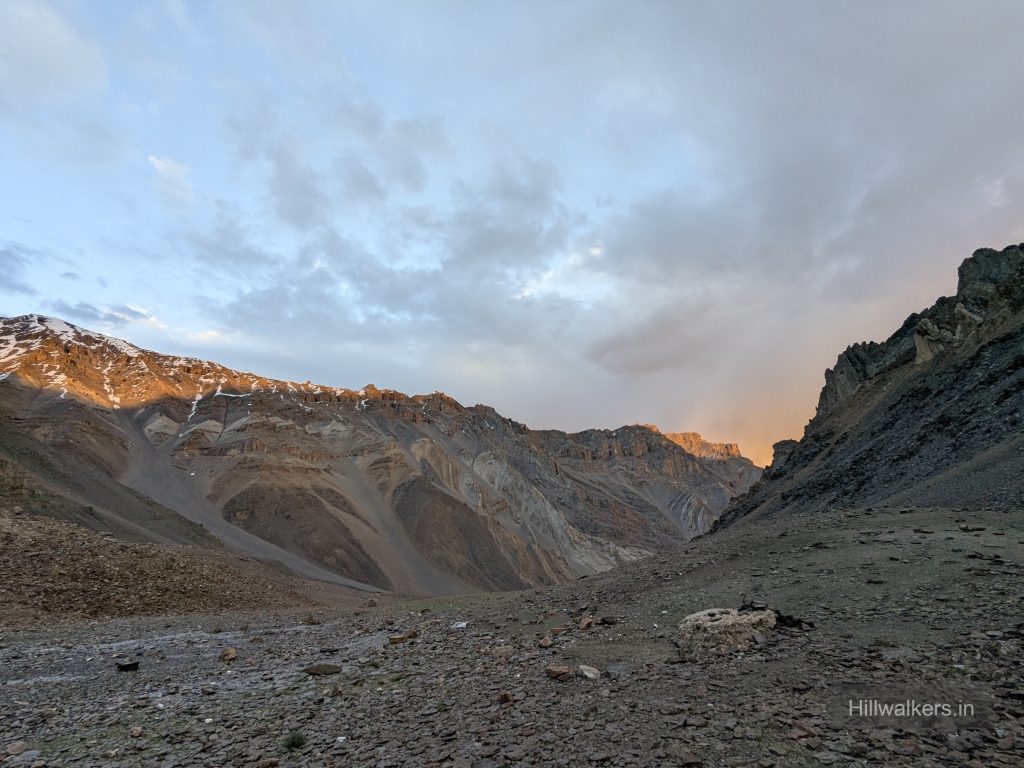
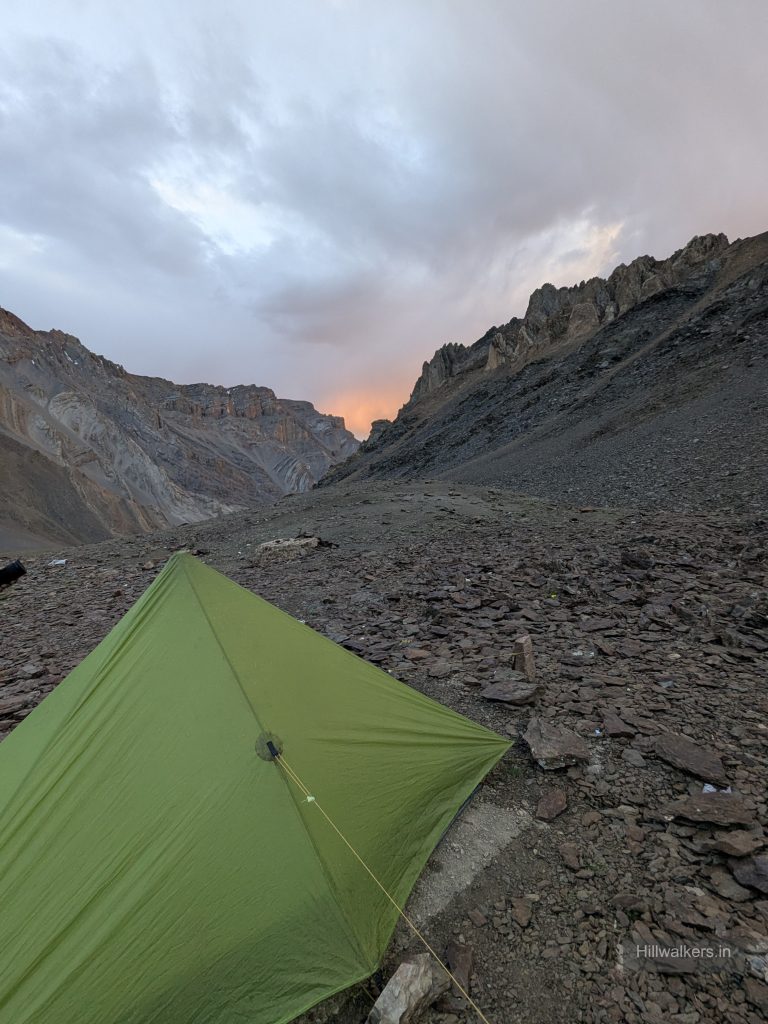
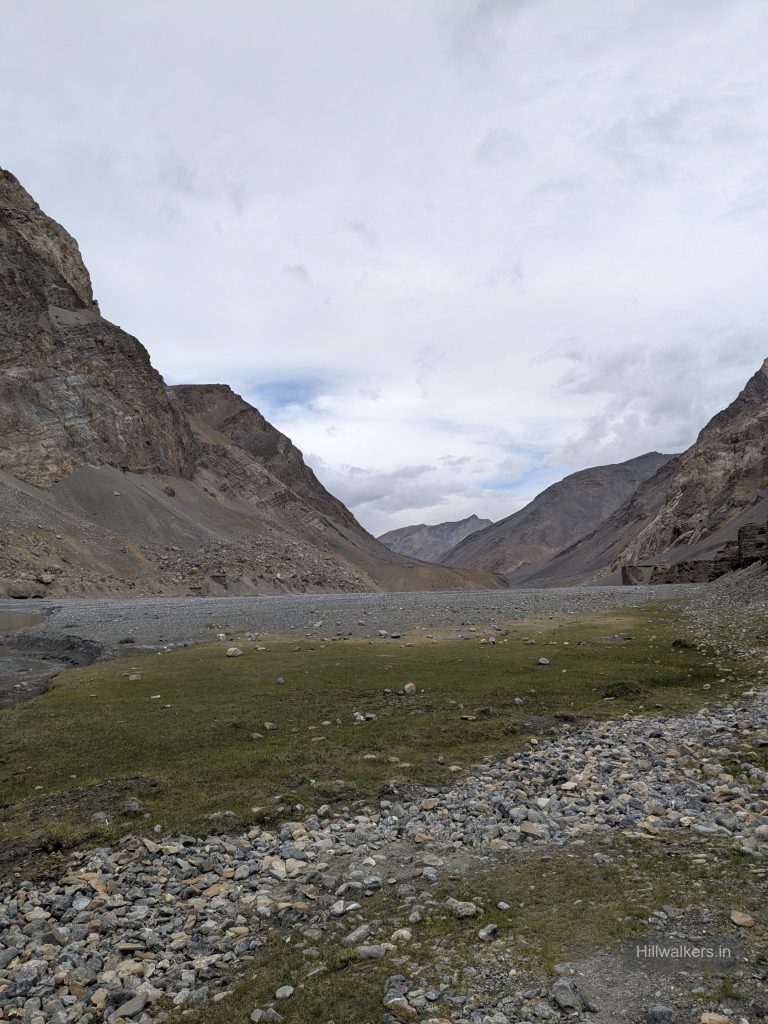
The route begins through the high villages and valleys of Spiti before becoming increasingly barren as it approaches Parang La. Thaltak and Borochin are important camps before the pass, where camping and water opportunities are relatively limited.
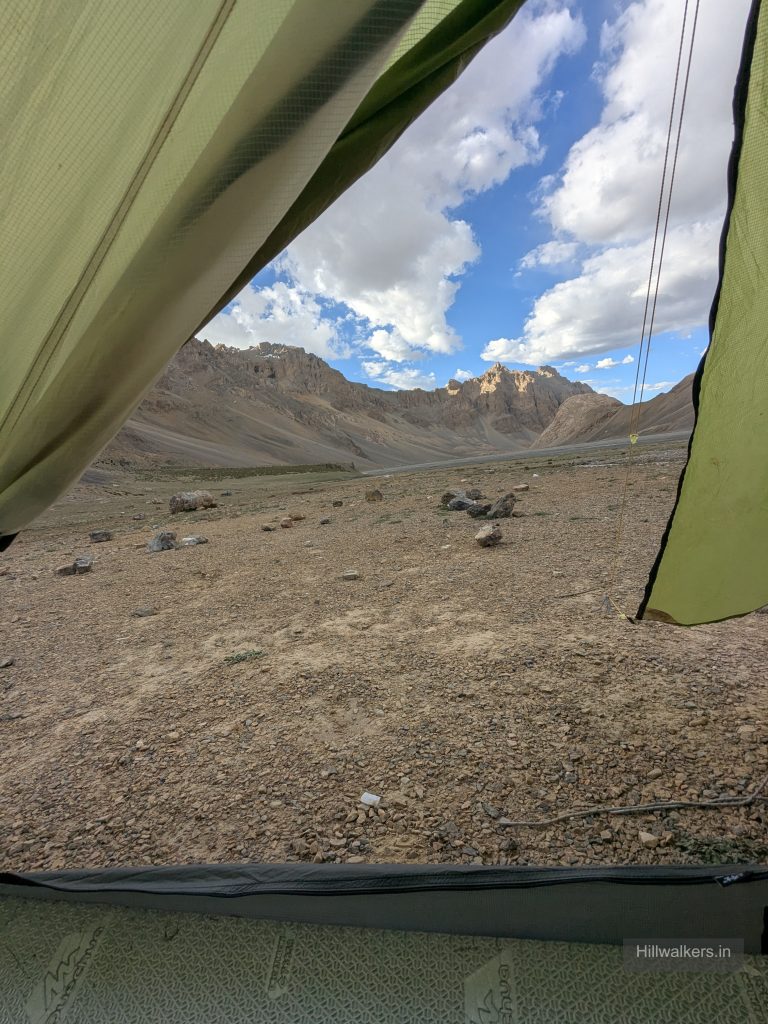
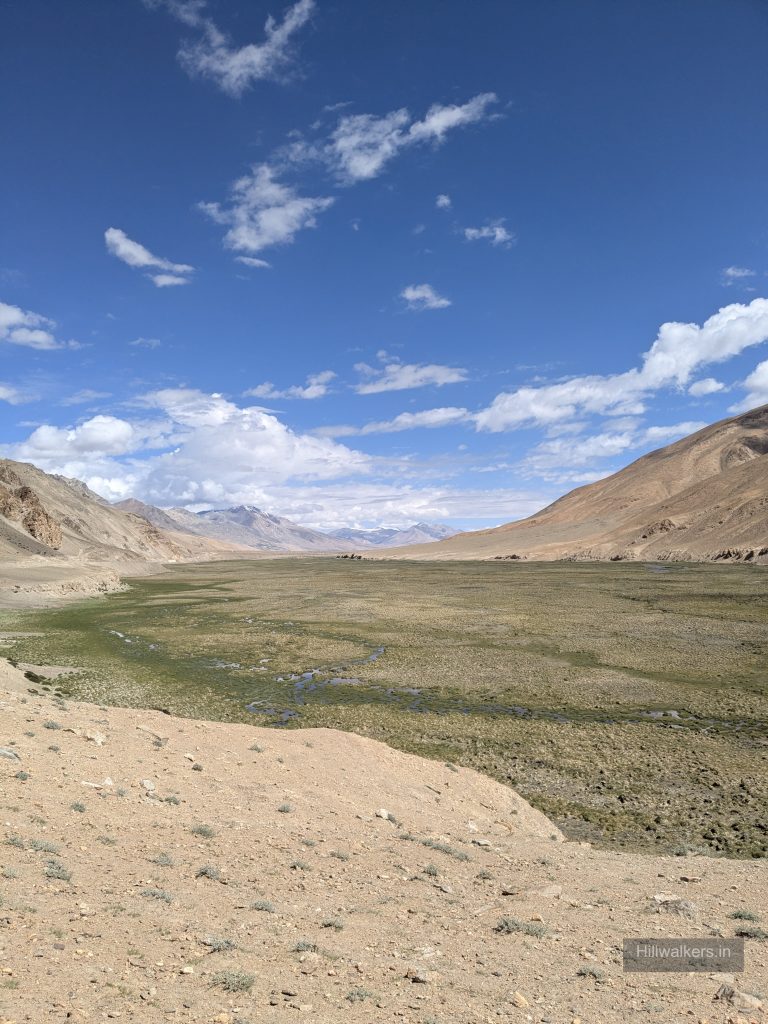
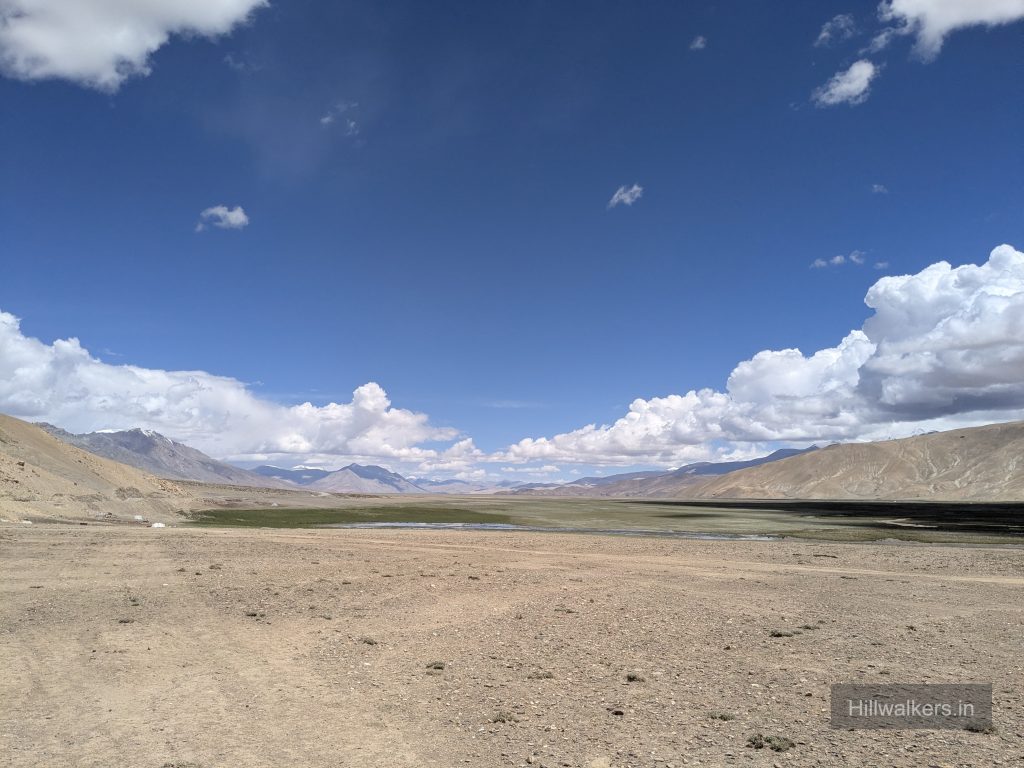
After crossing Parang La, the character of the route changes. The terrain opens into broad valleys and follows the Pare Chu, with considerably more flexibility in where a team can camp.
This is why Parang La does not need to be planned as a fixed day-by-day trek. One team may cover 10 km in a day while another may cover 30–35 km, depending on pace, conditions and where it makes sense to stop.
The route eventually moves through Norbu Sumdo, Chumik Shilde and Kiangdom before reaching Tso Moriri and Korzok.
Essentials
Water
Limited points before Parang La
Network
Not Available
Camping
limited before pass & flexible afterwards
Permit
Check locally
Food
Carry your own food & supplies
Guide
Recommended
What To Carry
ESSENTIALS
- Quick-dry T-shirts
- Trek pants
- Rain protection
- Sunglasses
- Headlamp / torch
- Water bottles
- Personal medicines
- Power bank
SEASONAL
- Fleece jacket
- Down jacket
- Woollen cap
- Gloves
- Extra warm socks
- Rain jacket / poncho
- Thermal layers
- Snow gaiters (where applicable)
BACKPACKING
- Tent
- Sleeping bag
- Sleeping mat
- Stove & fuel
- Cooking utensils
- Dehydrated food / meals
- Water purification
- Navigation / offline maps
OPTIONAL
- Camera
- Binoculars
- Extra snacks
- Trekking poles
- Personal comfort items
- Extra battery
- First-aid kit
Note: This checklist serves as a general guide. Adjust your gear based on weather, season, trek conditions, and personal requirements. Technical equipment should be decided according to current snow, ice and glacier conditions rather than a fixed checklist.
Routes
Chicham / Kibber → Thaltak → Borochin → Parang La → Kharsa Yongma → Datang Yongma → Kapapuche → Racholamo → Norbu Sumdo → Korzok
Base Village: Kibber /Chicham
Difficulty: Moderate – Difficult
Duration: 4-9 Days
Distance: ~70-102 km
Character: High-altitude, remote, non-technical depending on conditions
The standard Spiti to Tso Moriri route crosses Parang La and continues through the remote Pare Chu Valley before reaching Korzok. The route has limited camping and water options before the pass, particularly around Thaltak and Borochin. After crossing Parang La, the broader valley offers more flexibility in choosing campsites and daily distances.
The exact duration can vary considerably. Strong, experienced teams may complete the route in around 4–5 days, while commercial itineraries commonly take 7–9 days. Daily distances should be decided according to altitude, weather, terrain, water availability and the team’s pace rather than a fixed itinerary.
Chicham / Kibber (~4120m) → Smali La (4700m) → Thaltak (~4300-4500m)
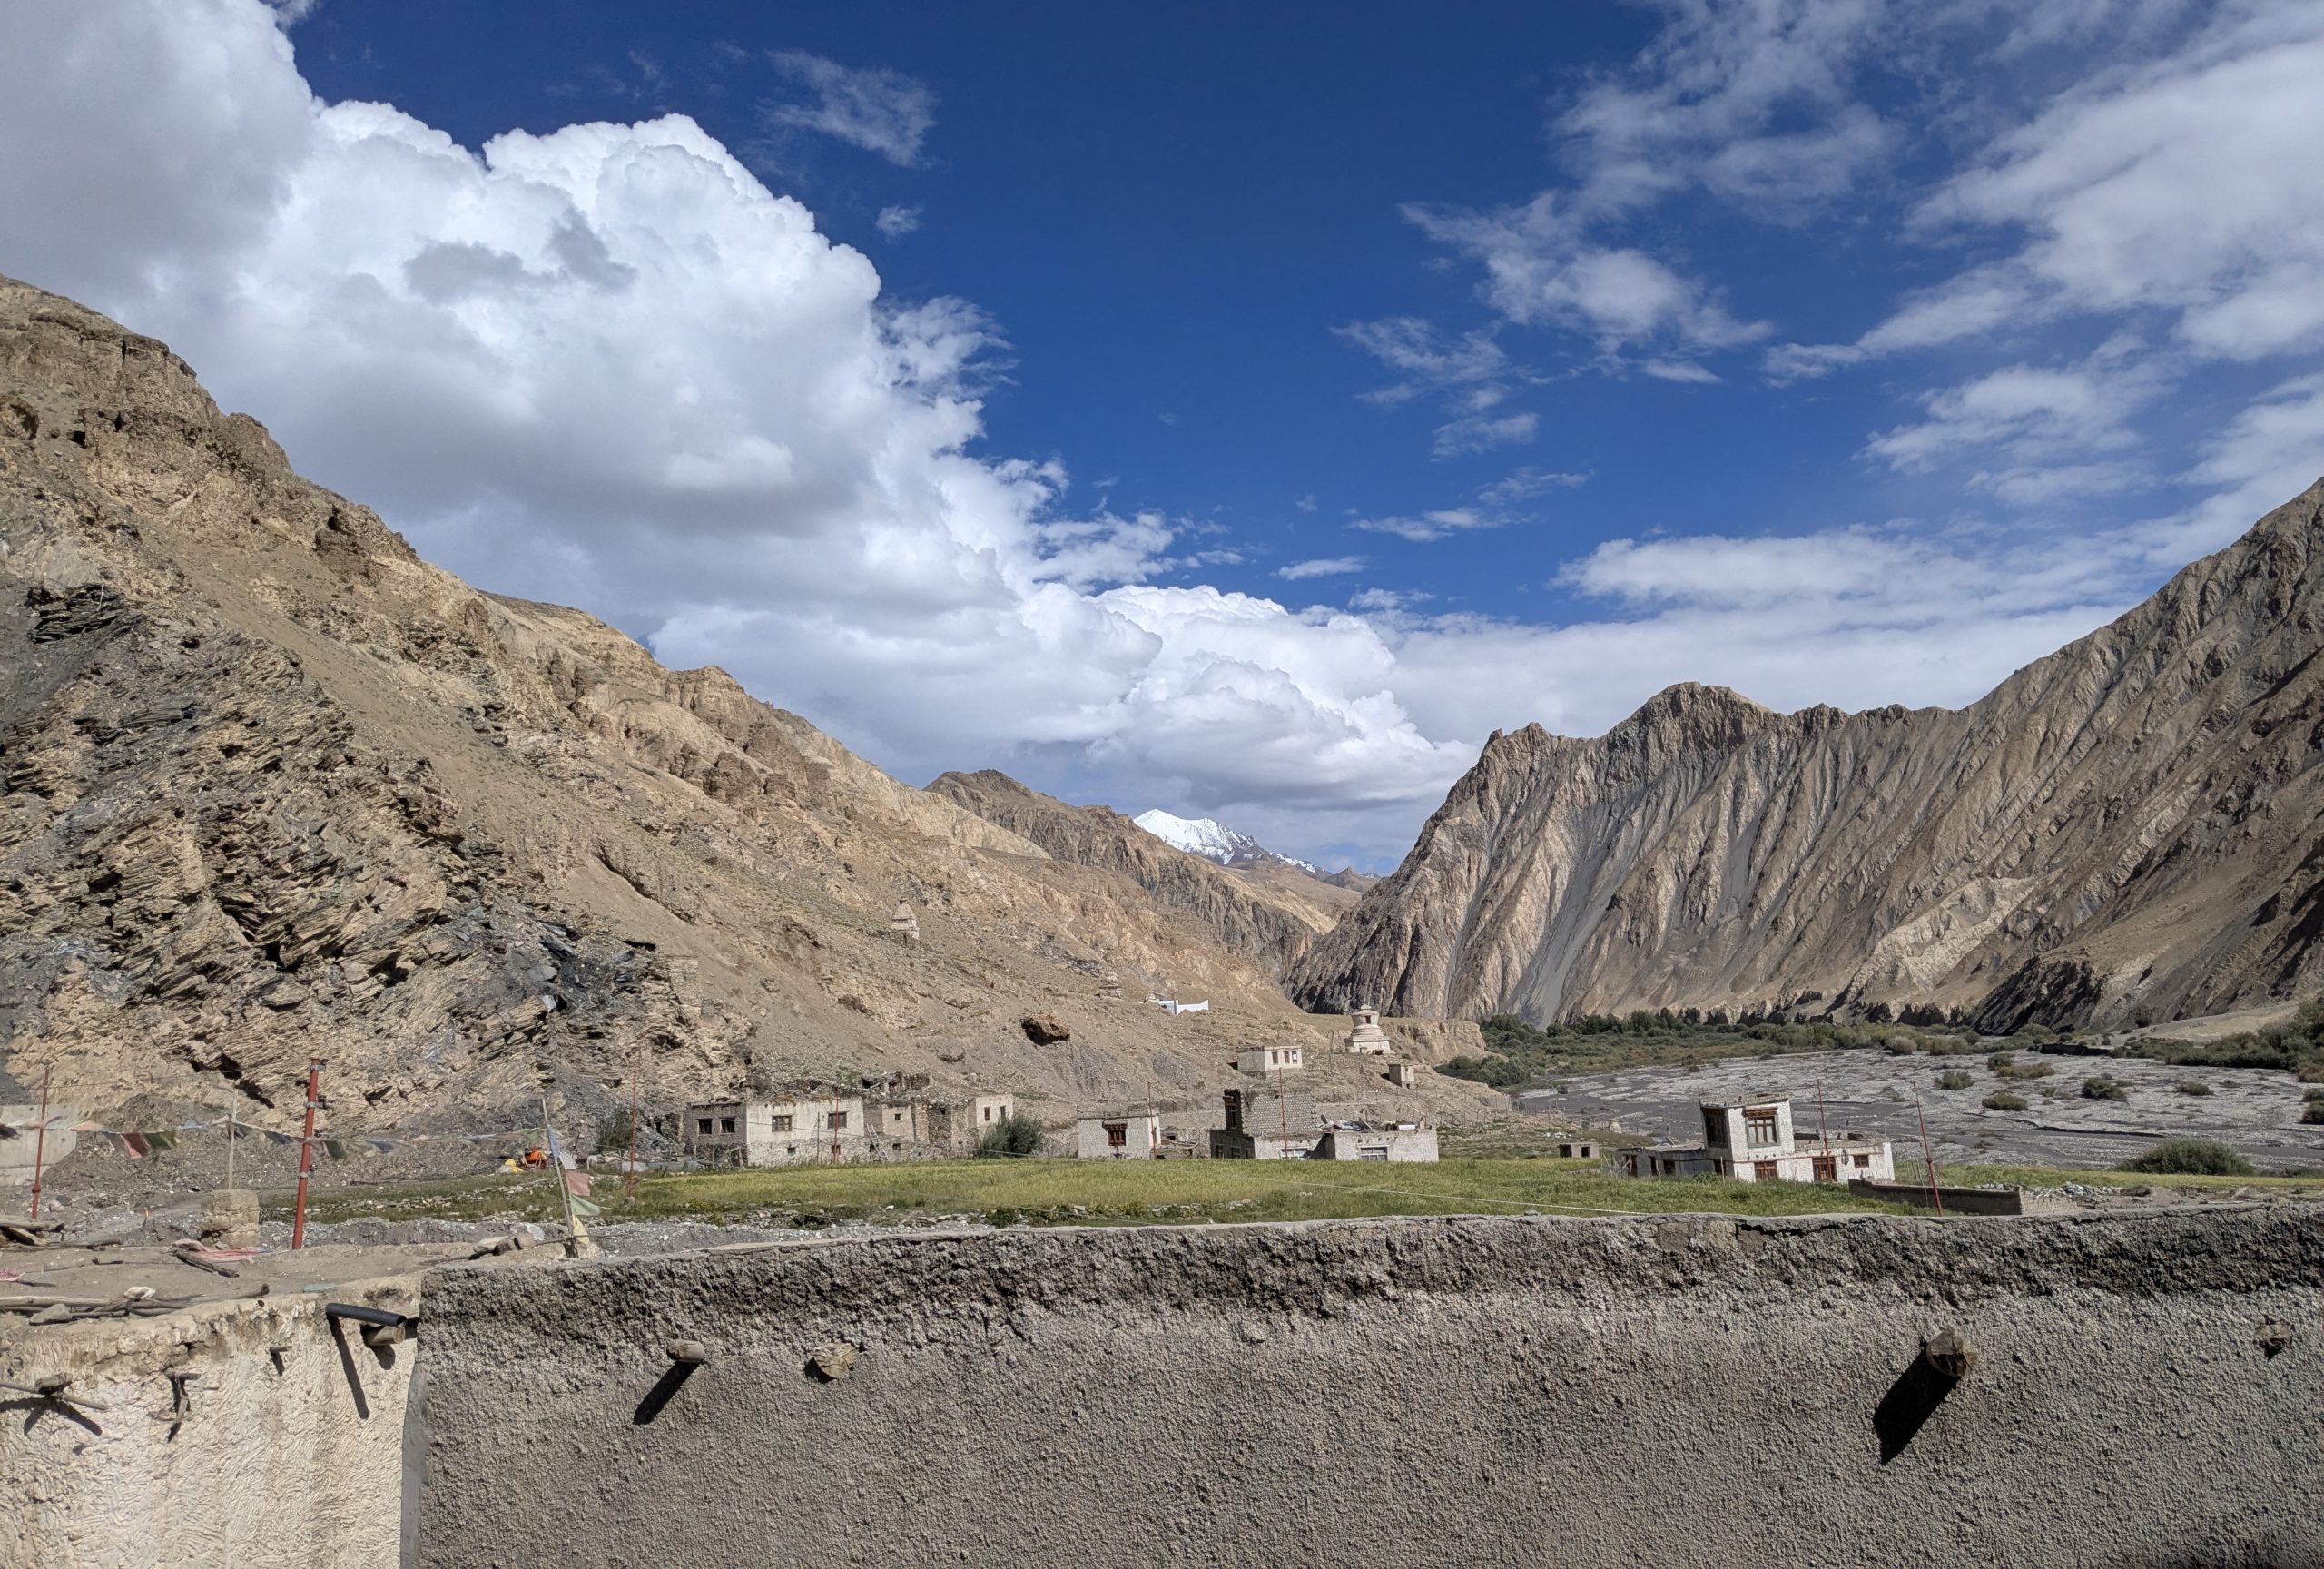
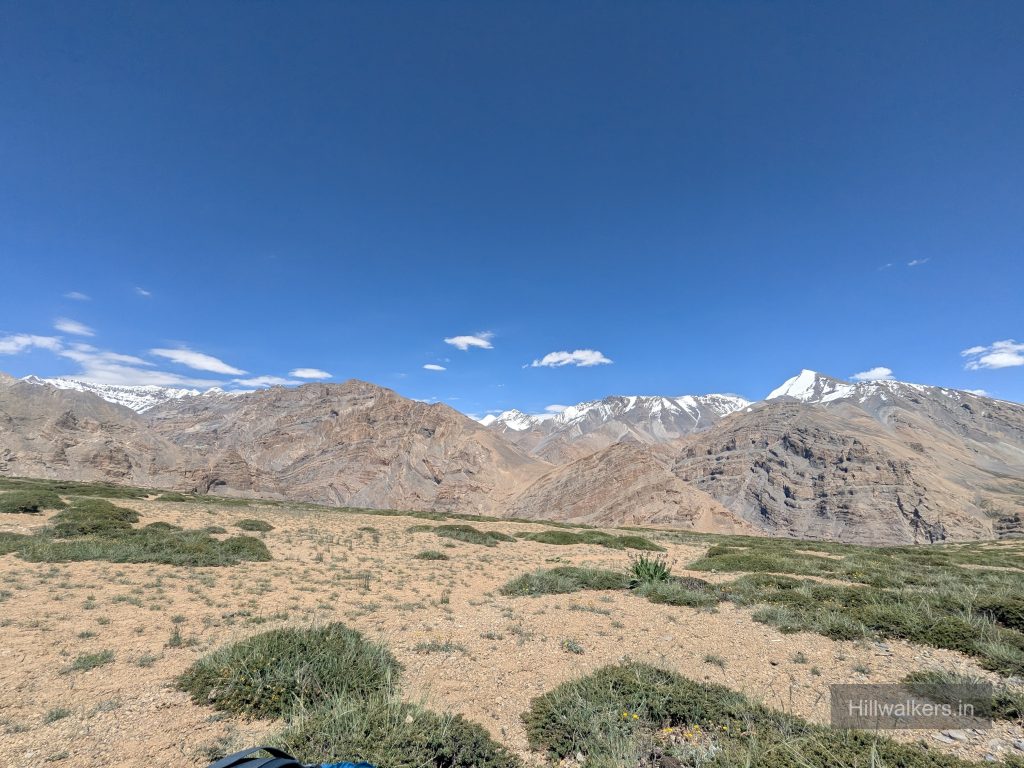
The route leaves Chicham / Kibber and gradually enters the Dumla Nala valley before climbing towards Smali La (~4,700 m).The landscape gradually changes from the villages and cultivated areas of Spiti to high altitude meadows and increasingly barren terrain.
After crossing Smali La, the route descends towards Thaltak, an important early high altitude campsite and water point.
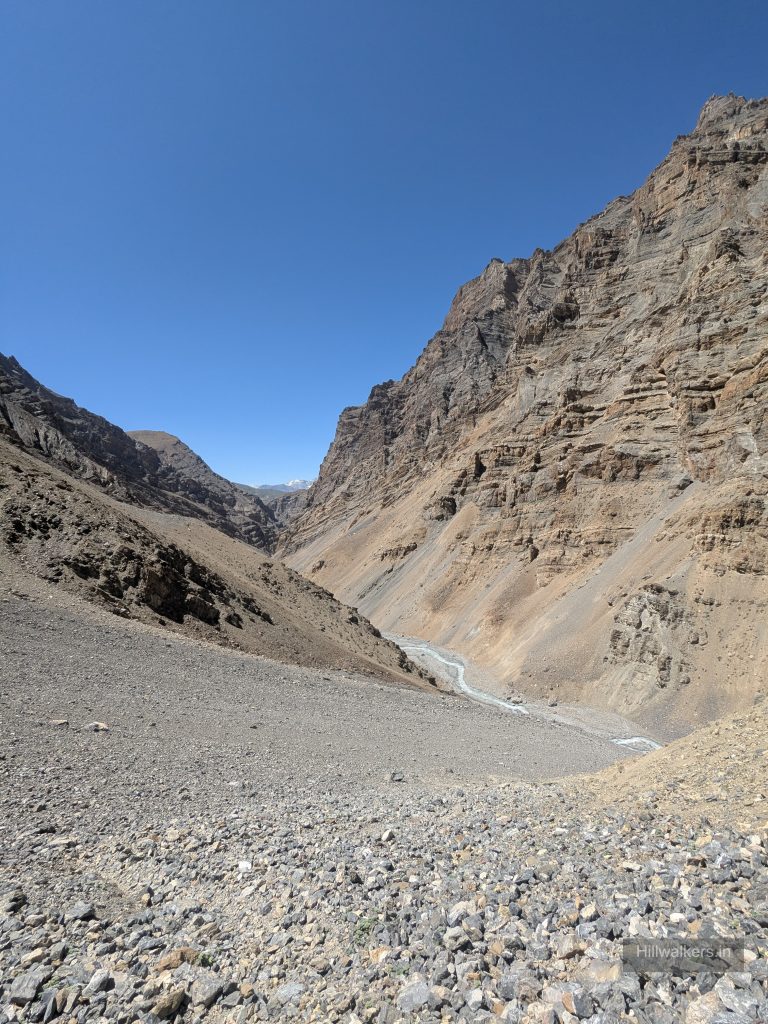
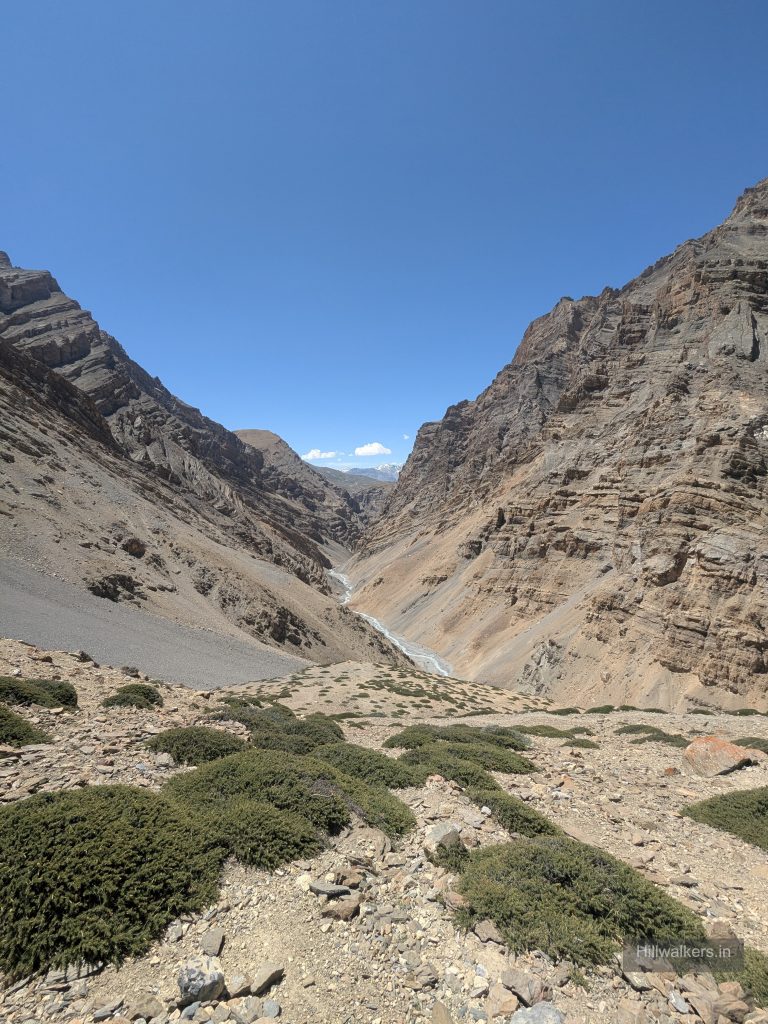
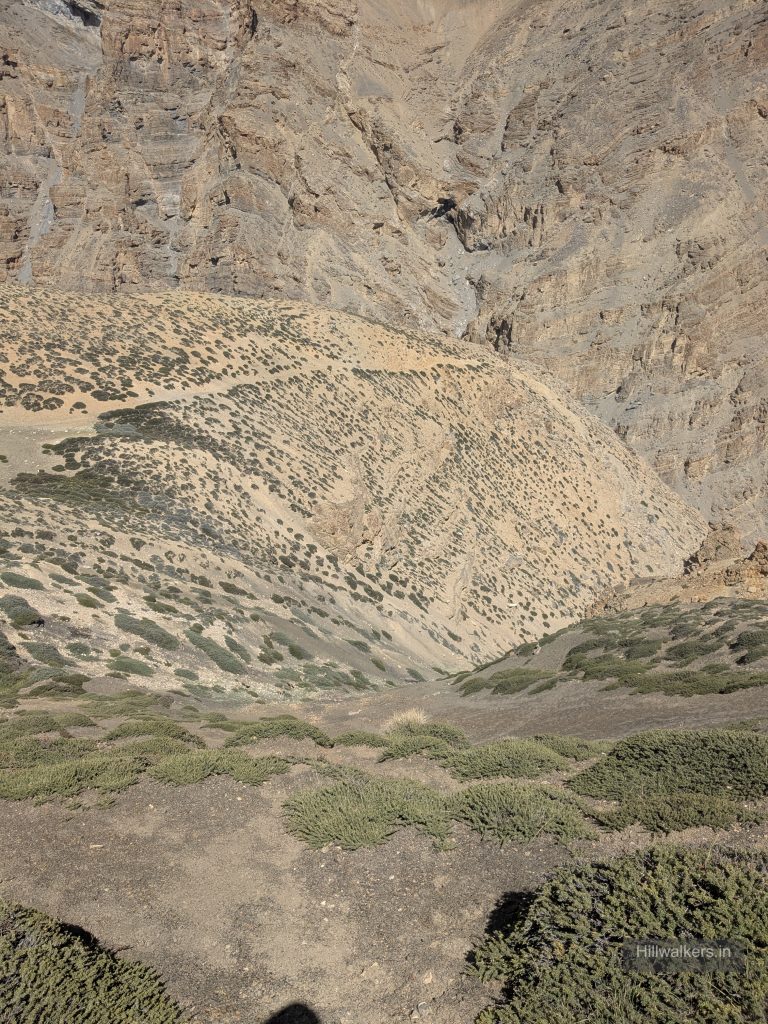
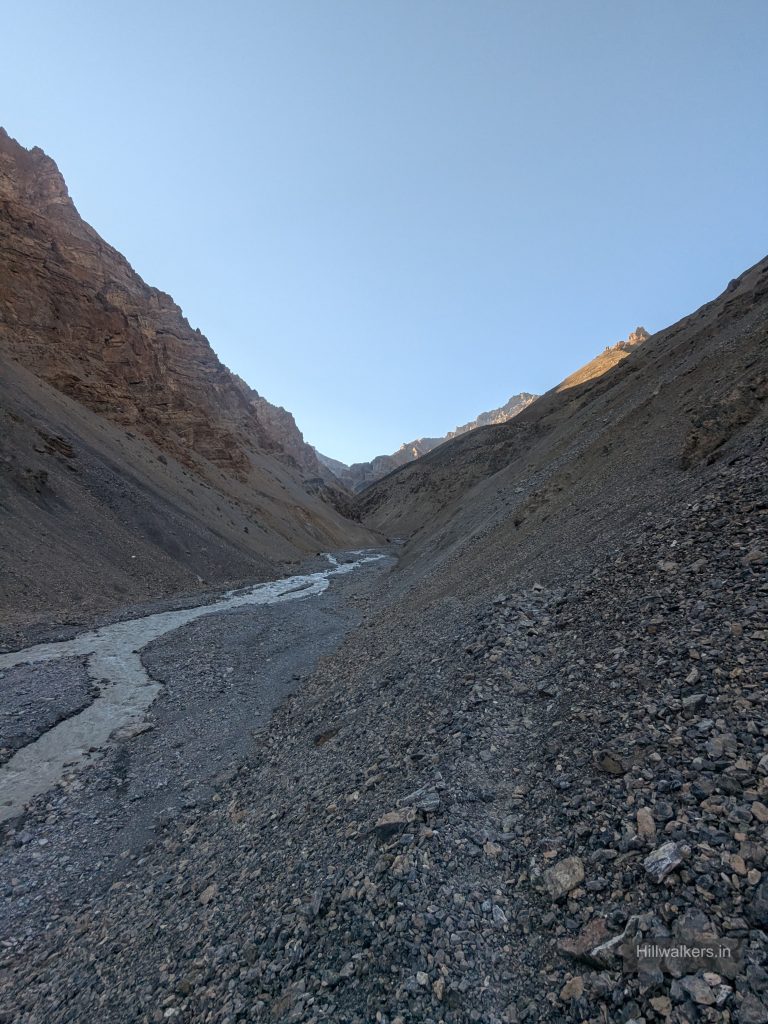
From Thaltak, the route descends into the Parilungbi Gorge, following the Parilungbi Chu(Rungpa Nala) before climbing again through moraine and high altitude terrain towards the camps around Borochin. There are small campsites besides nala before climb to borochin starts.
Thaltak → Borochin (5050m)
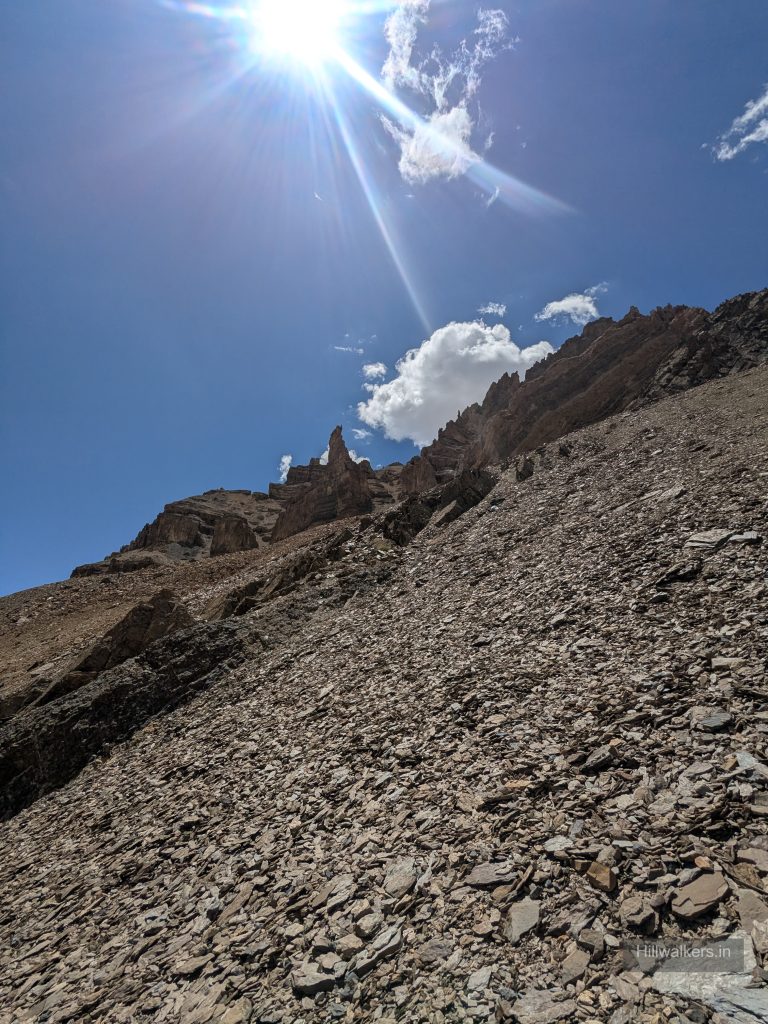
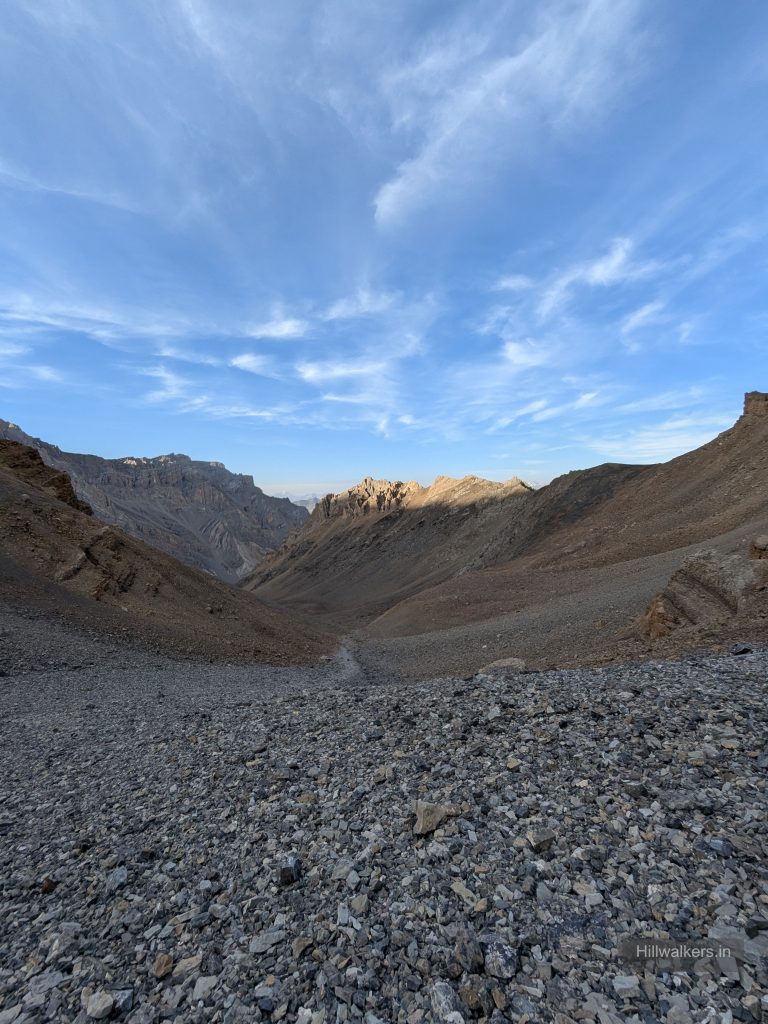
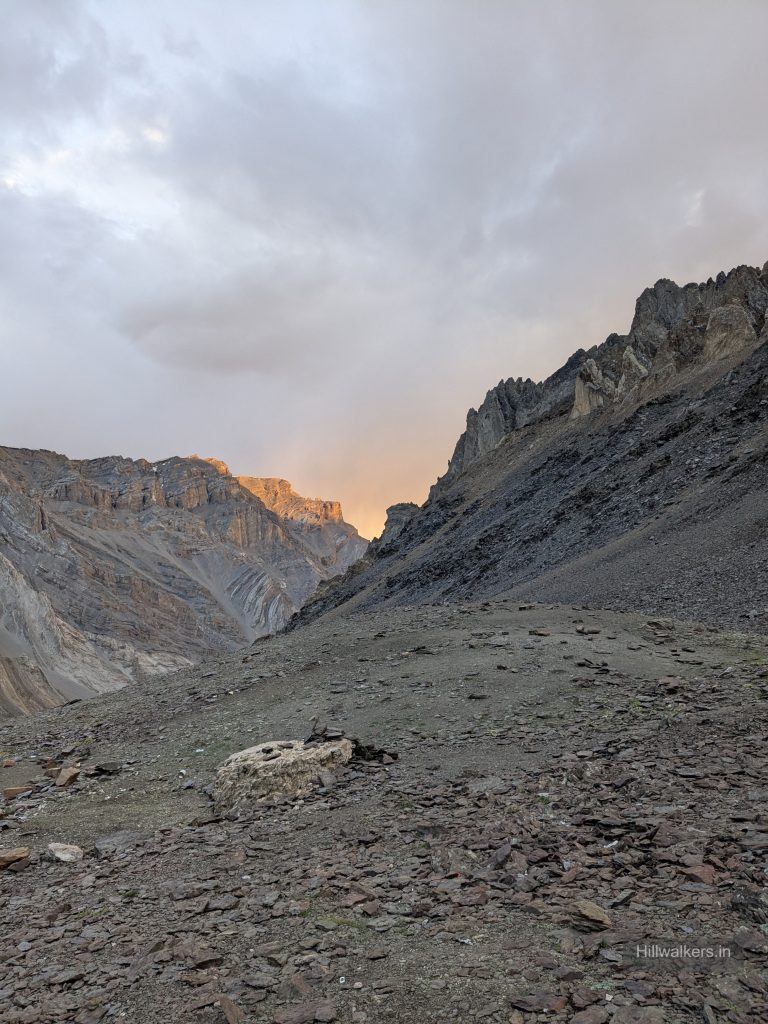
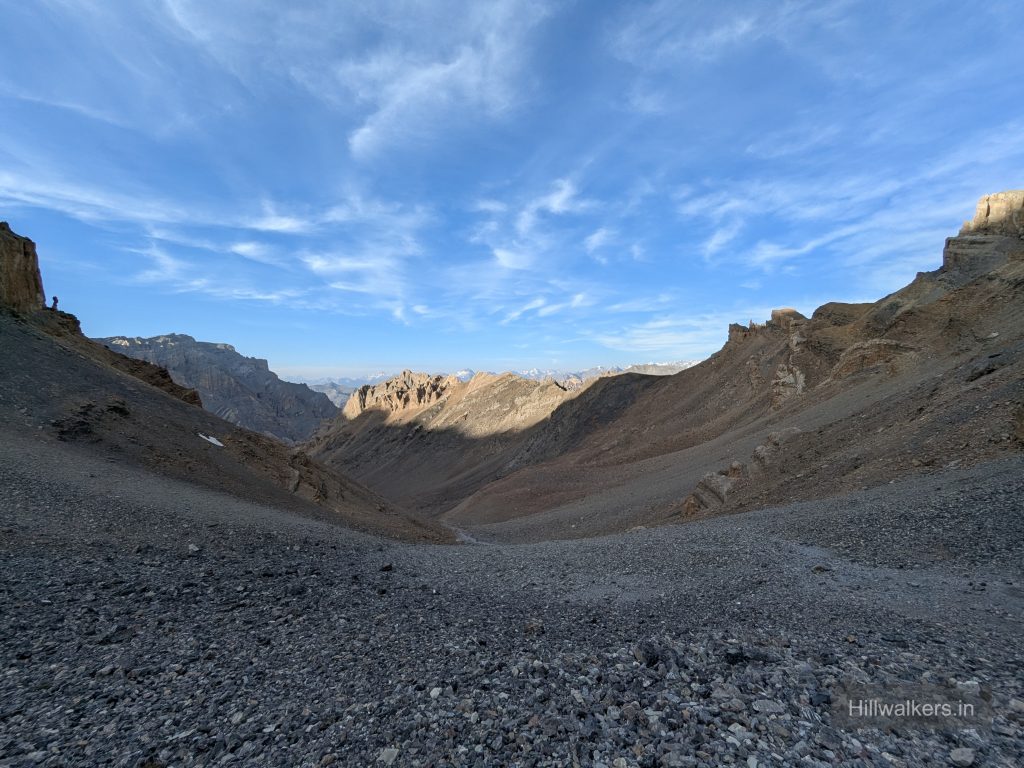
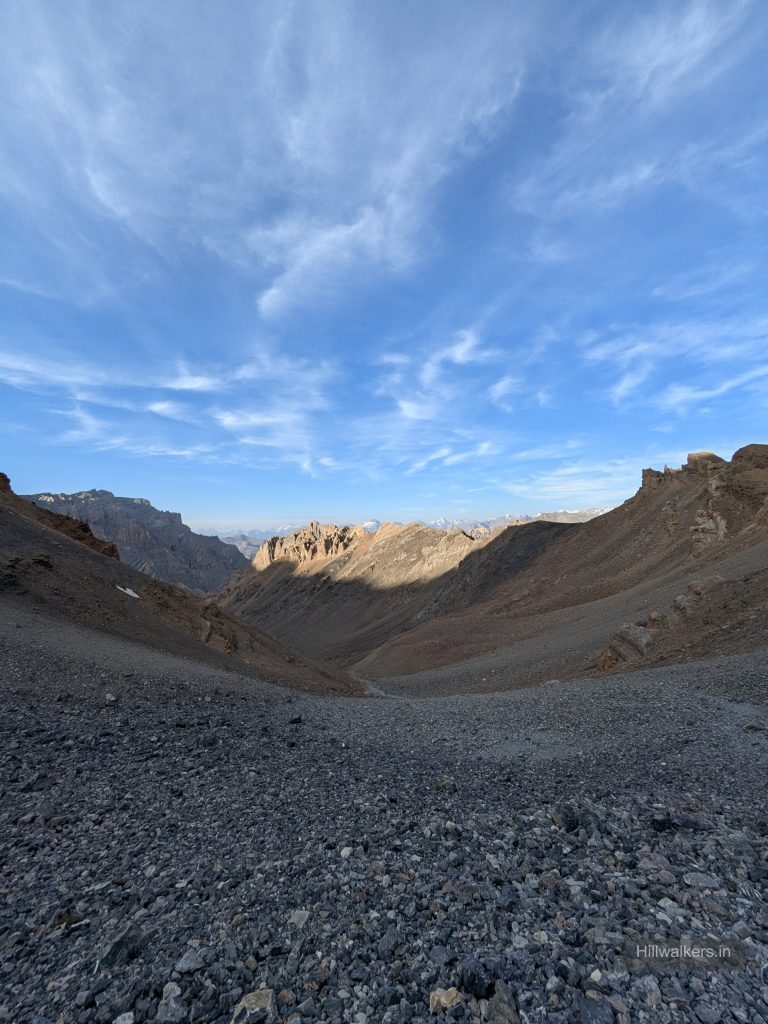
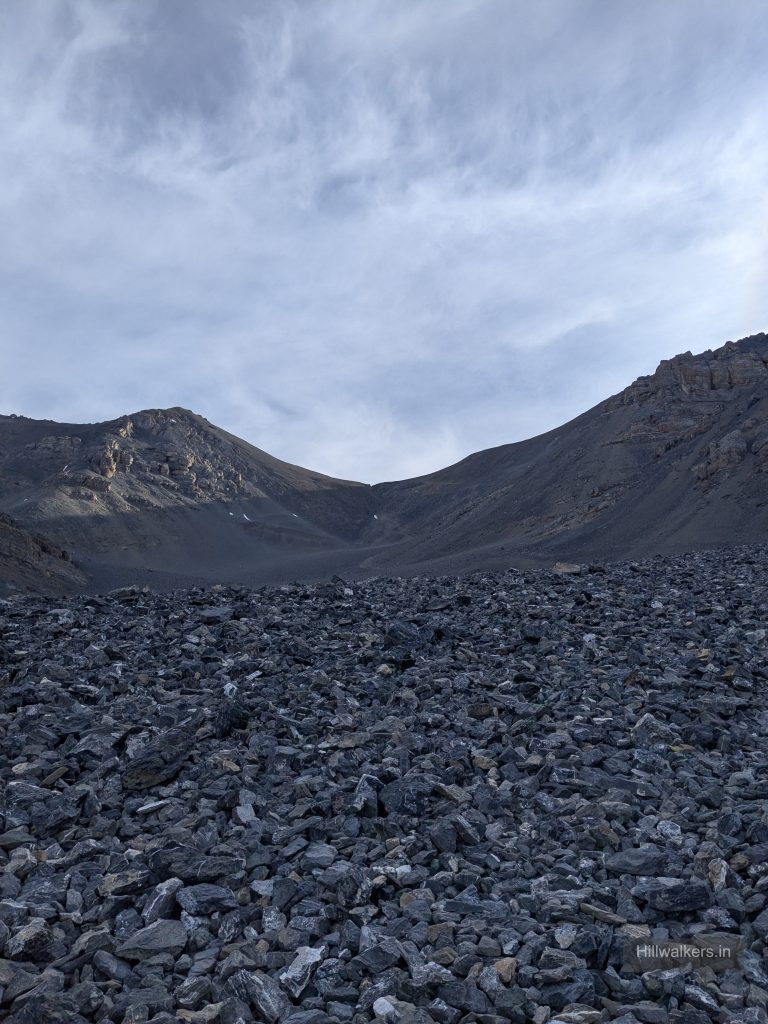
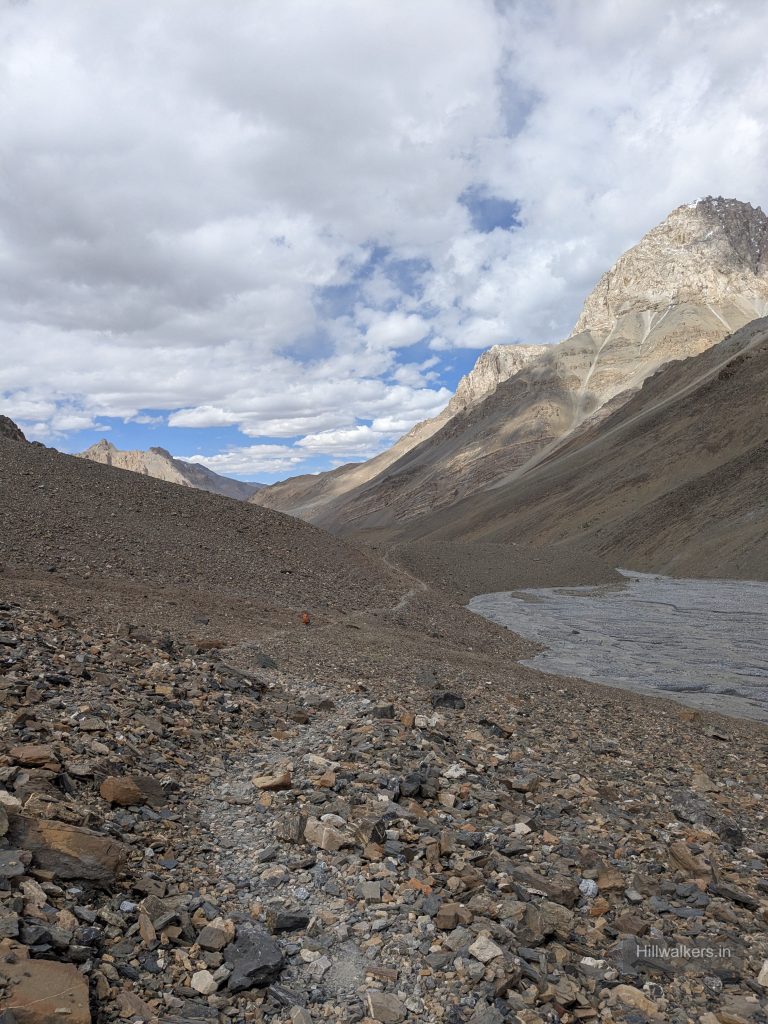
The route continues through rough and loose terrain towards Borochin, with scree, gravel and increasing altitude.
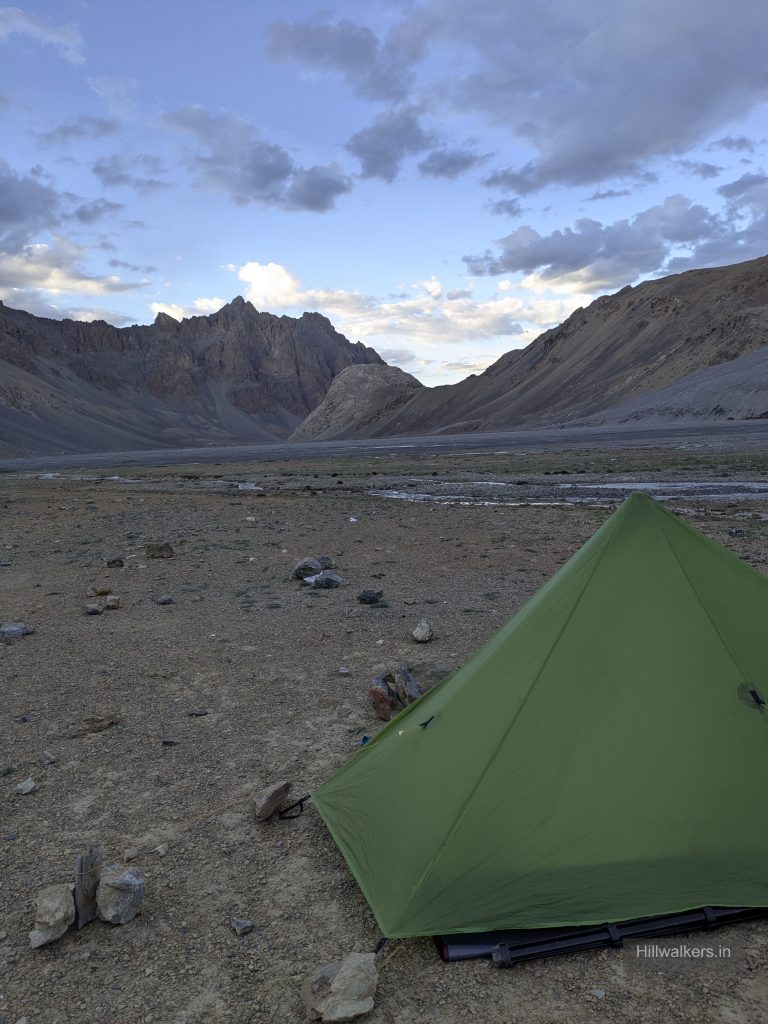
Borochin is commonly used as a high altitude campsite before the final approach to Parang La.
Camping and water options are relatively limited before the pass, making Thaltak and Borochin important planning points.
Borochin → Parang La (5580m) → Kharsa Yongma (4900m)
This is the most demanding section of the route.
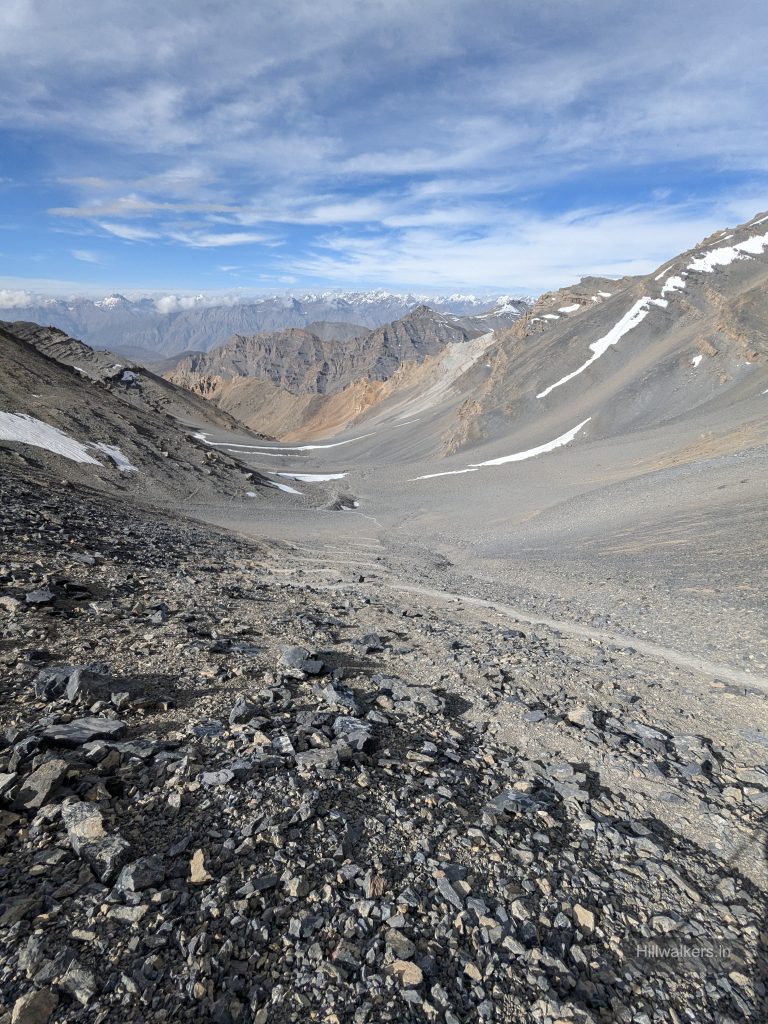
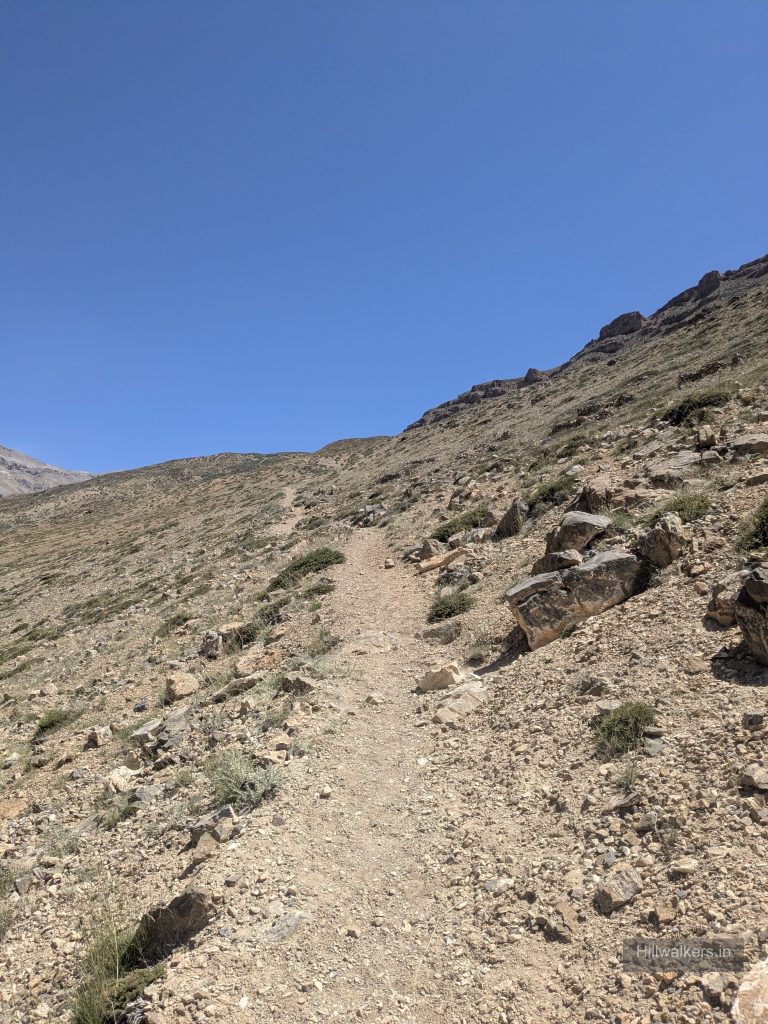
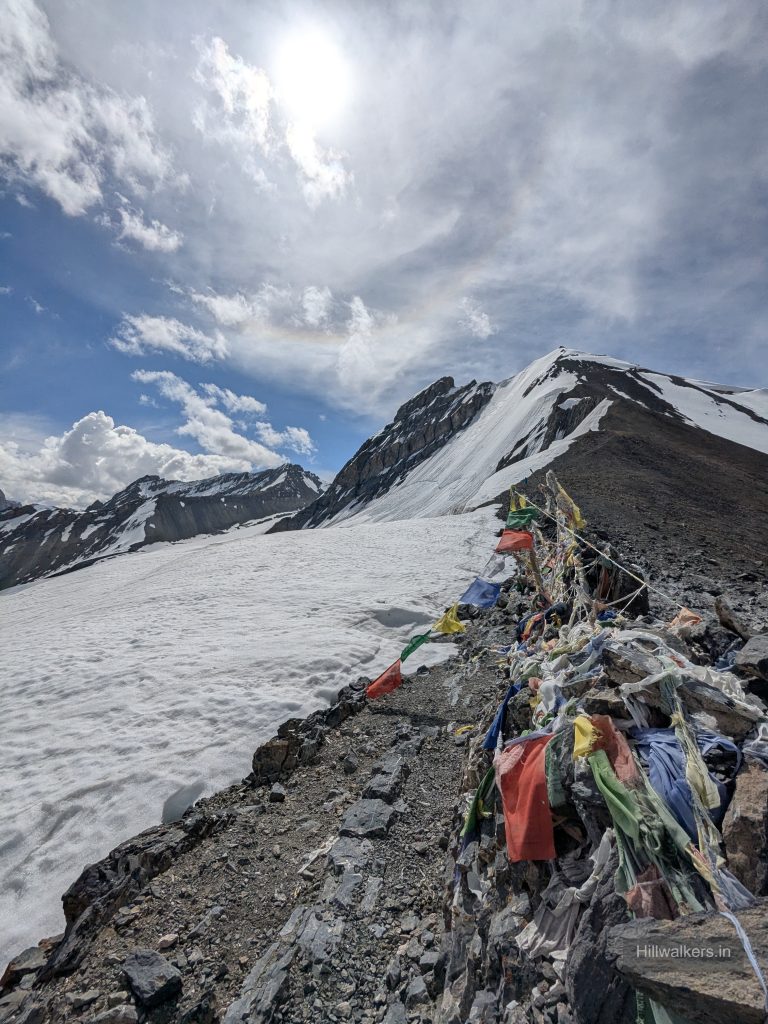
From Borochin, the trail climbs towards Parang La at approximately 5,580 m.
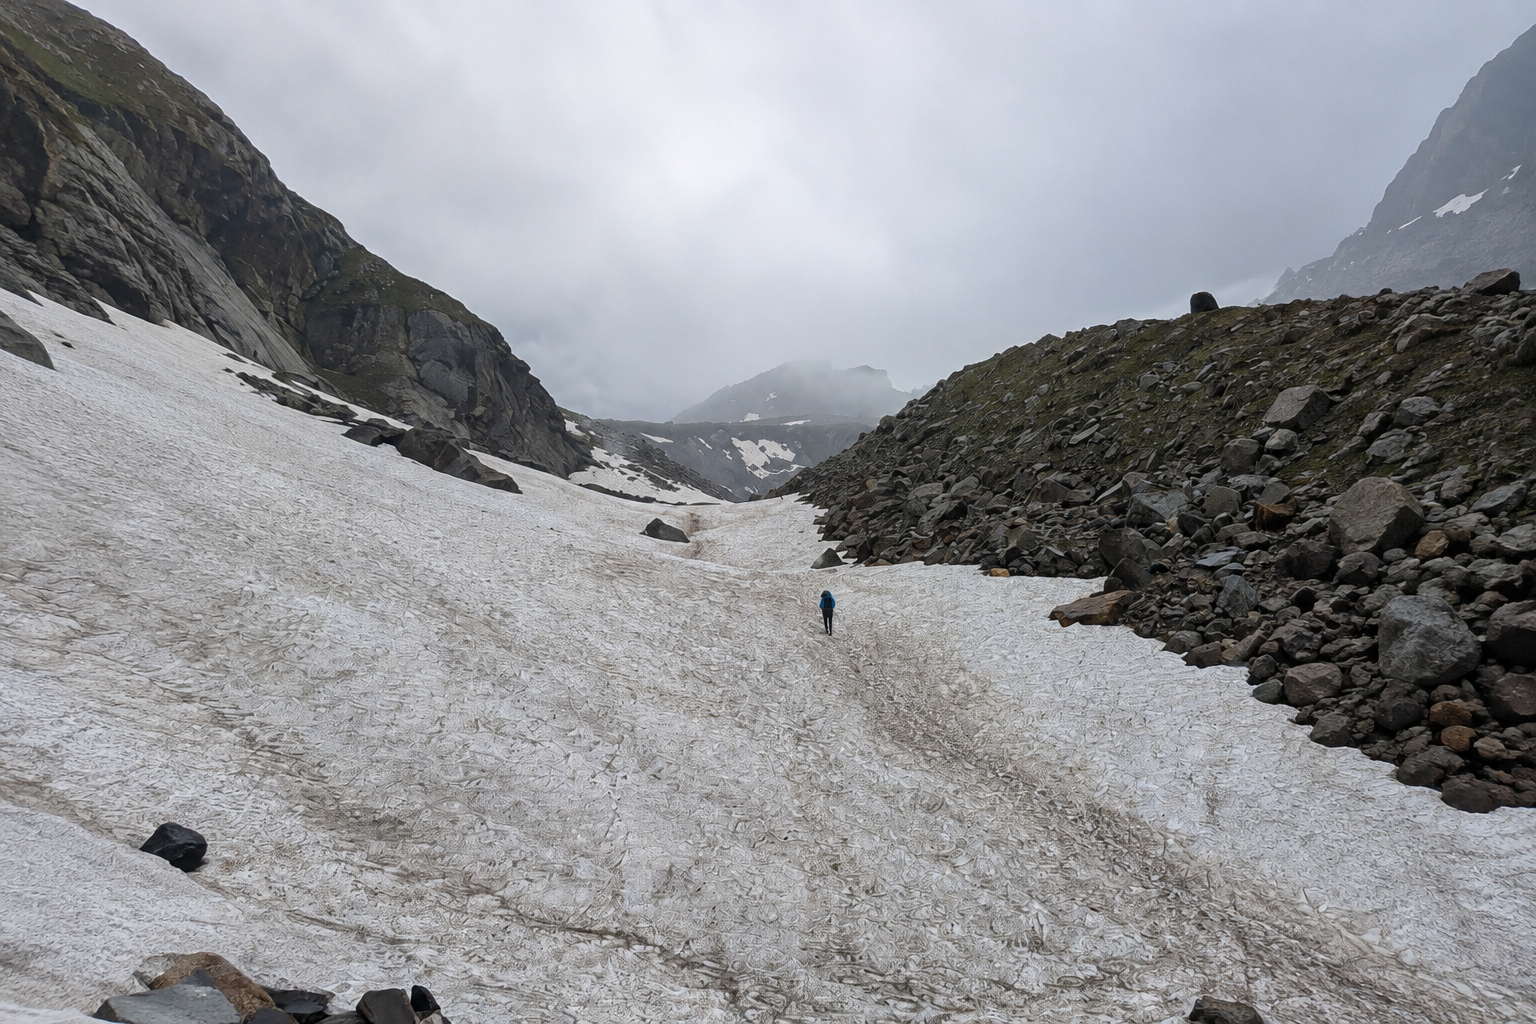
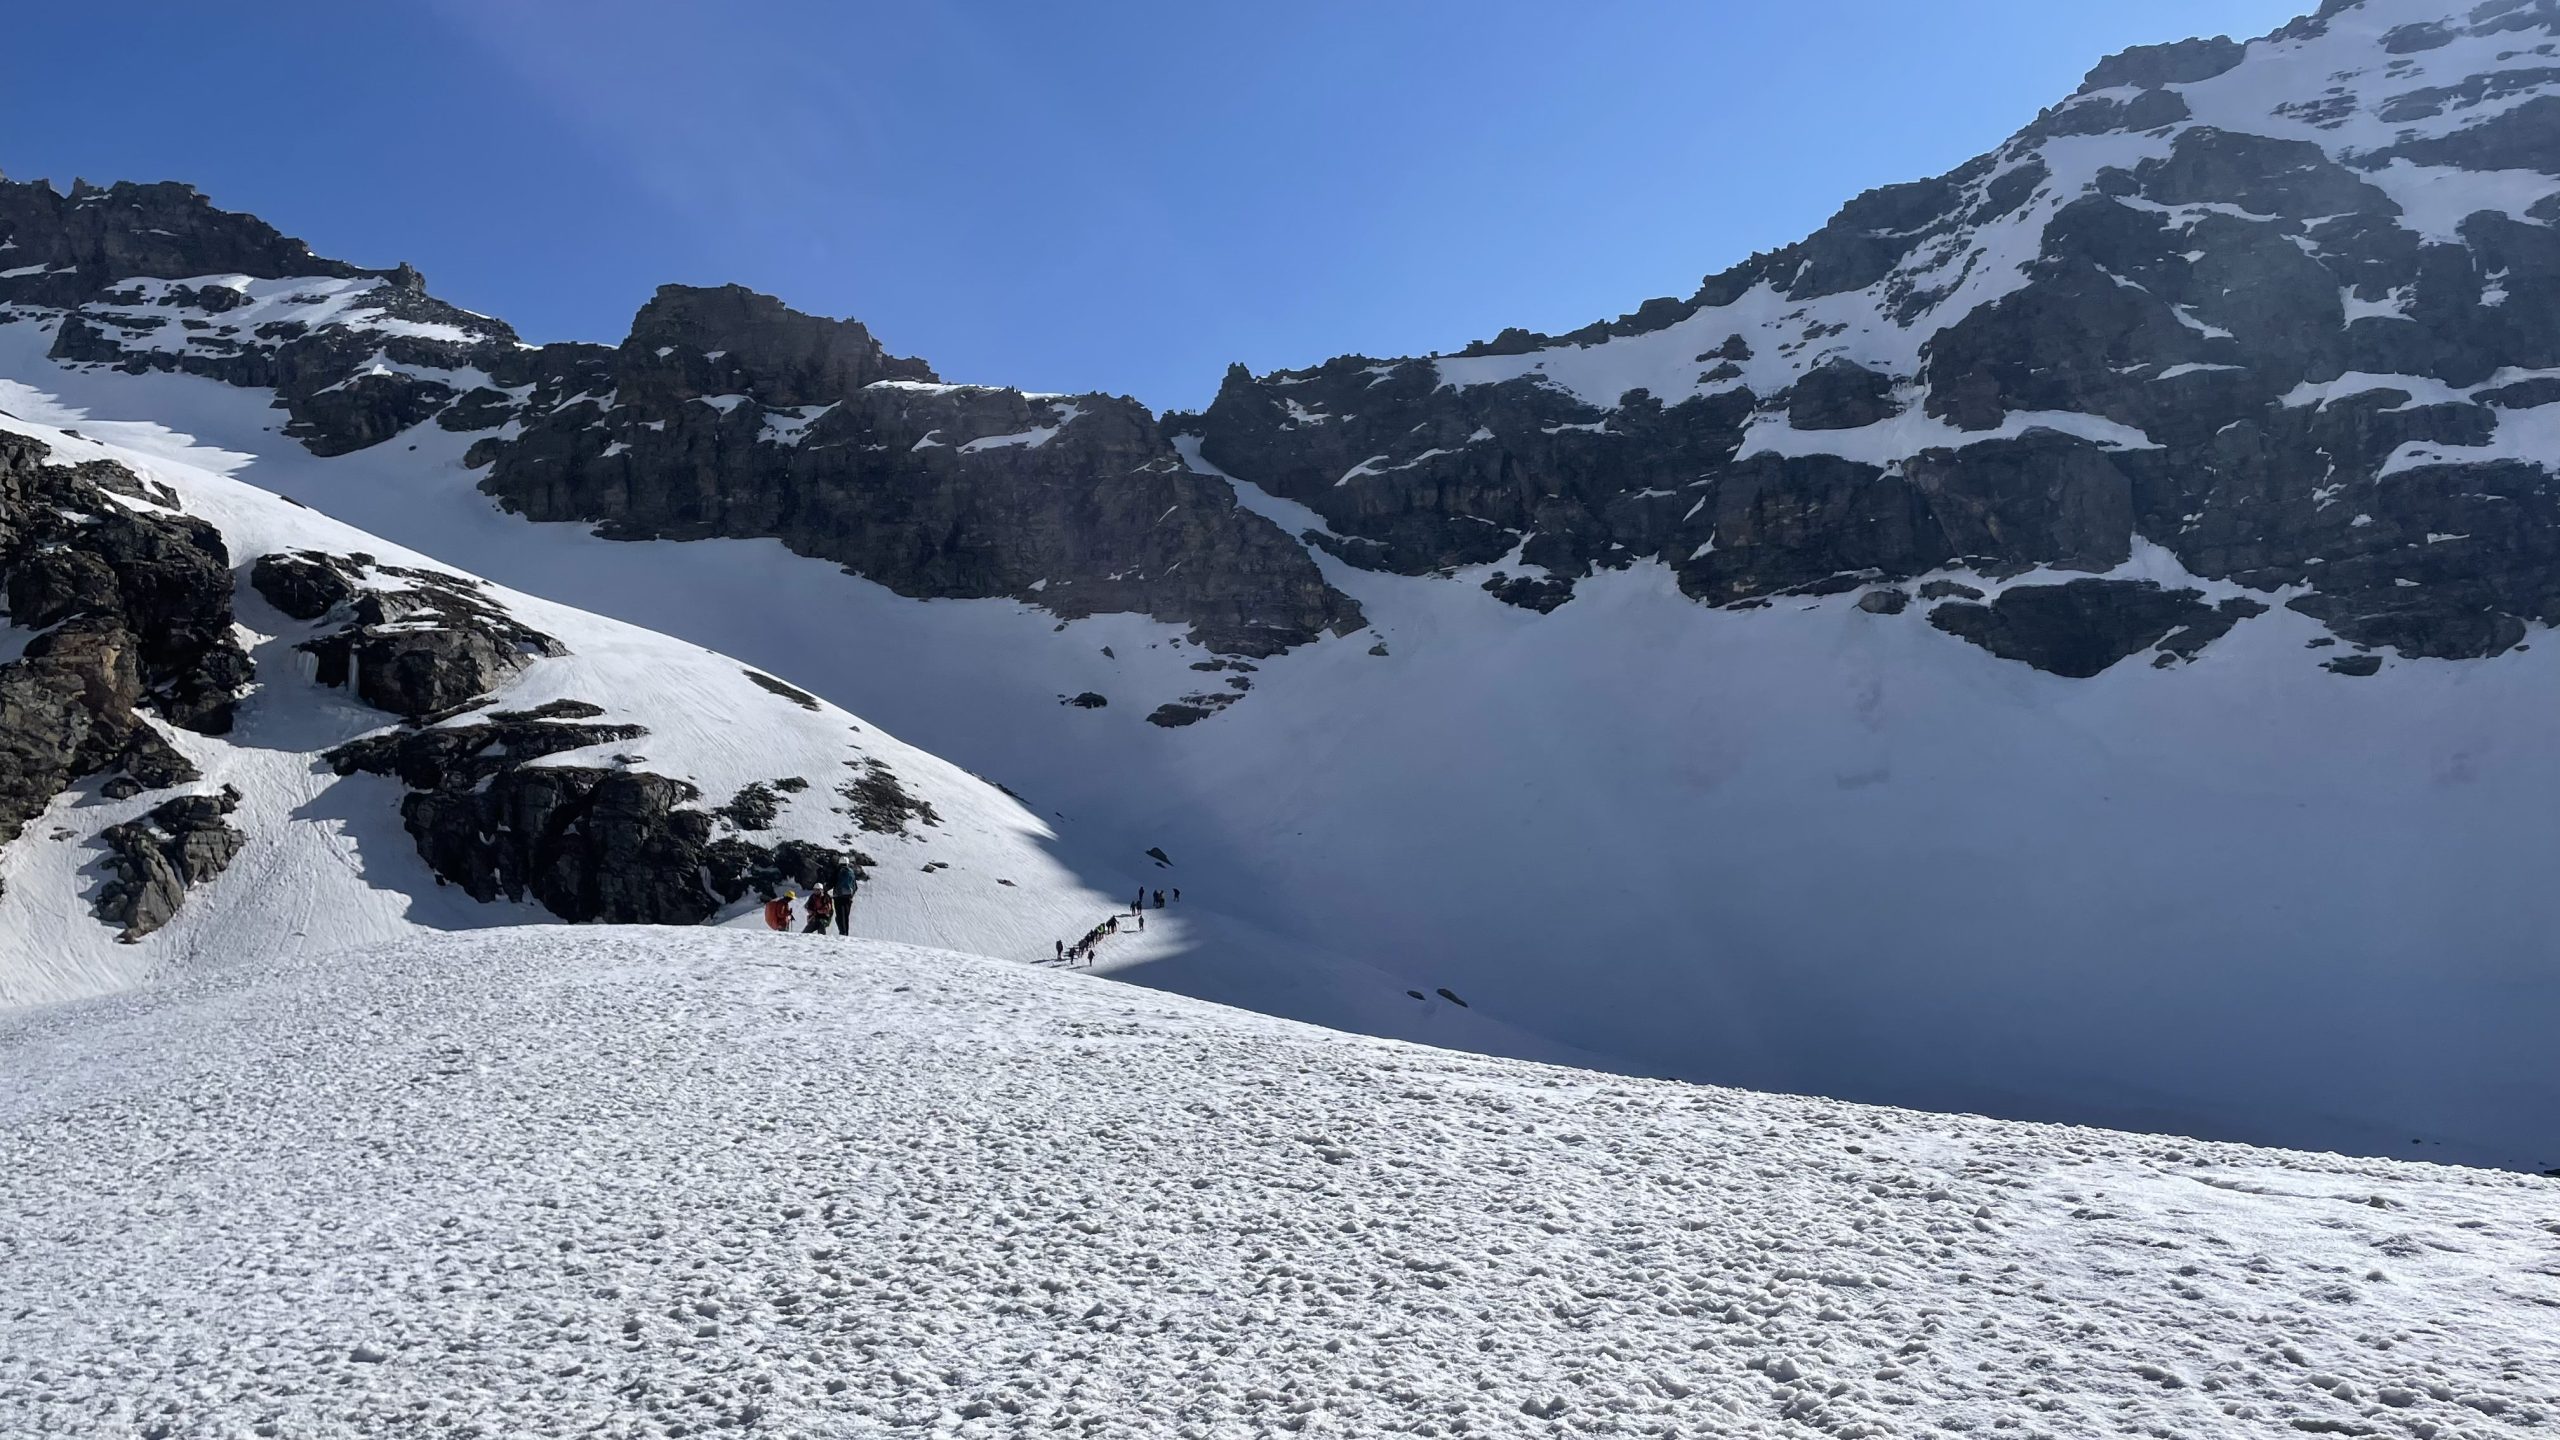
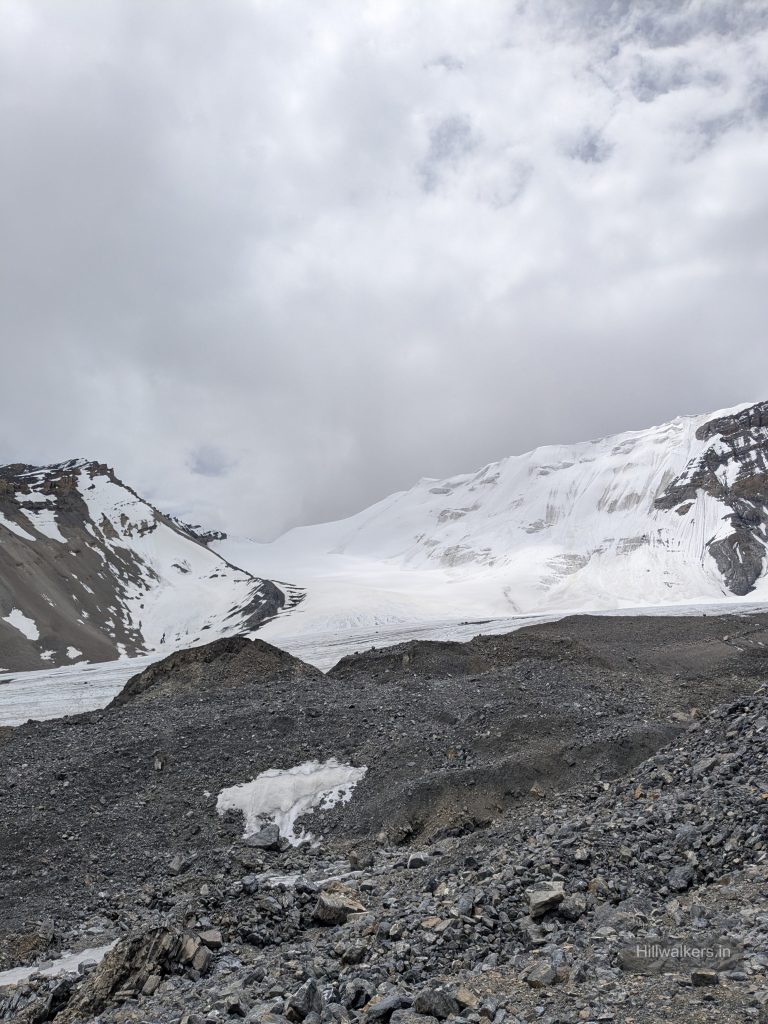
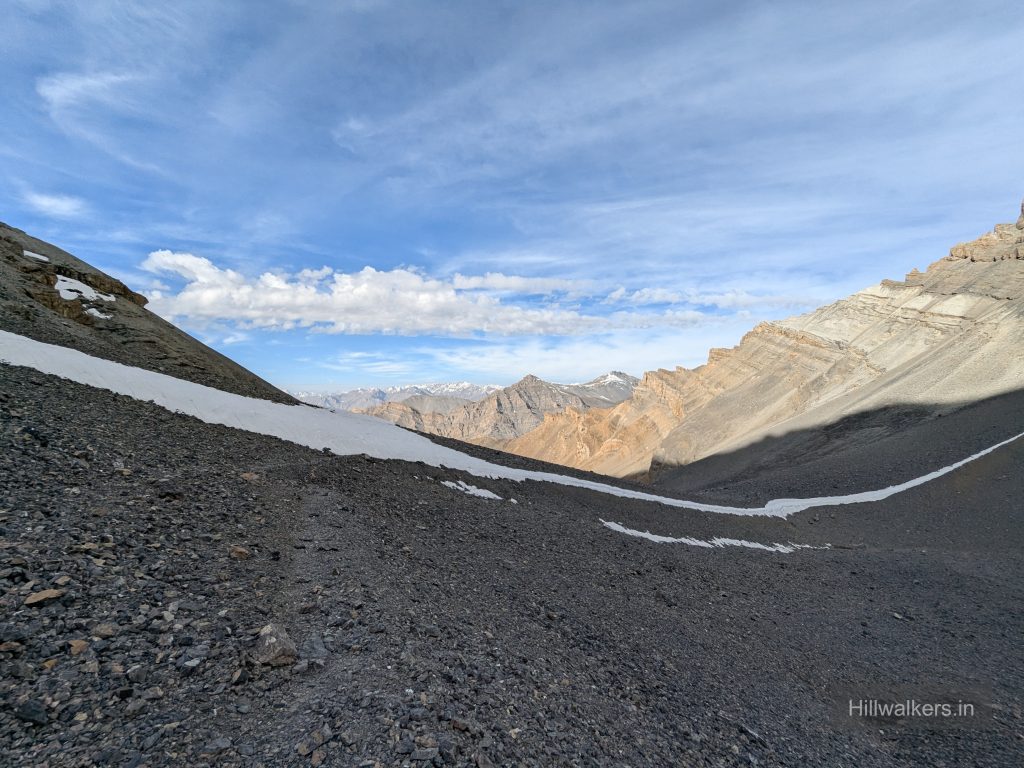
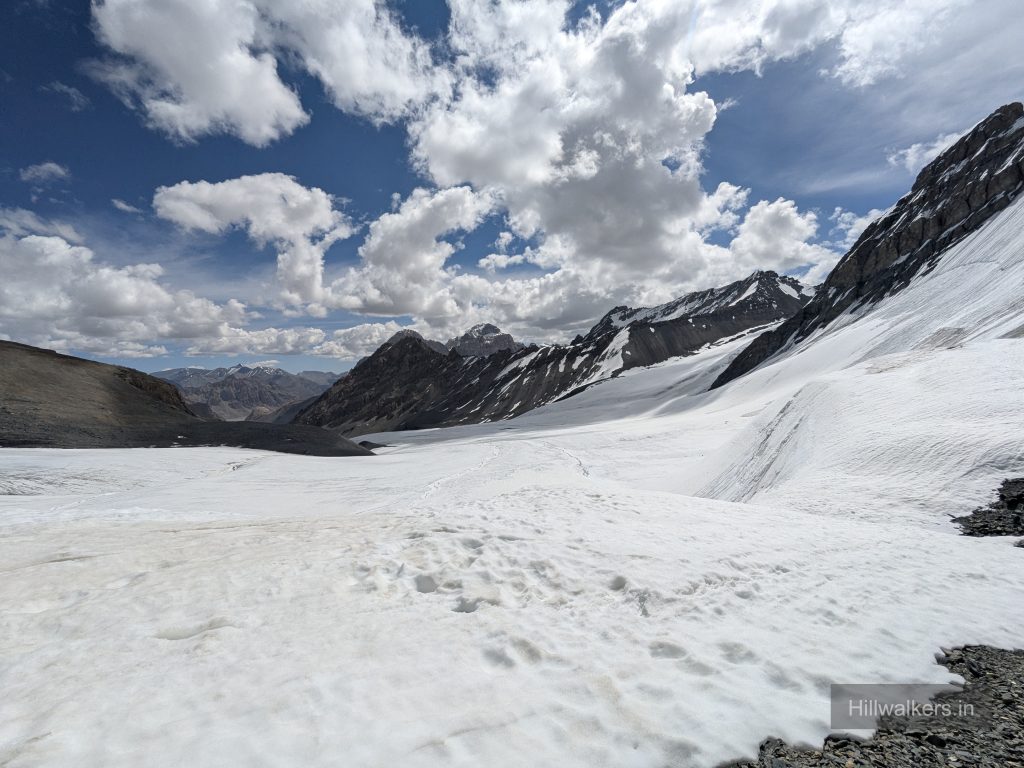
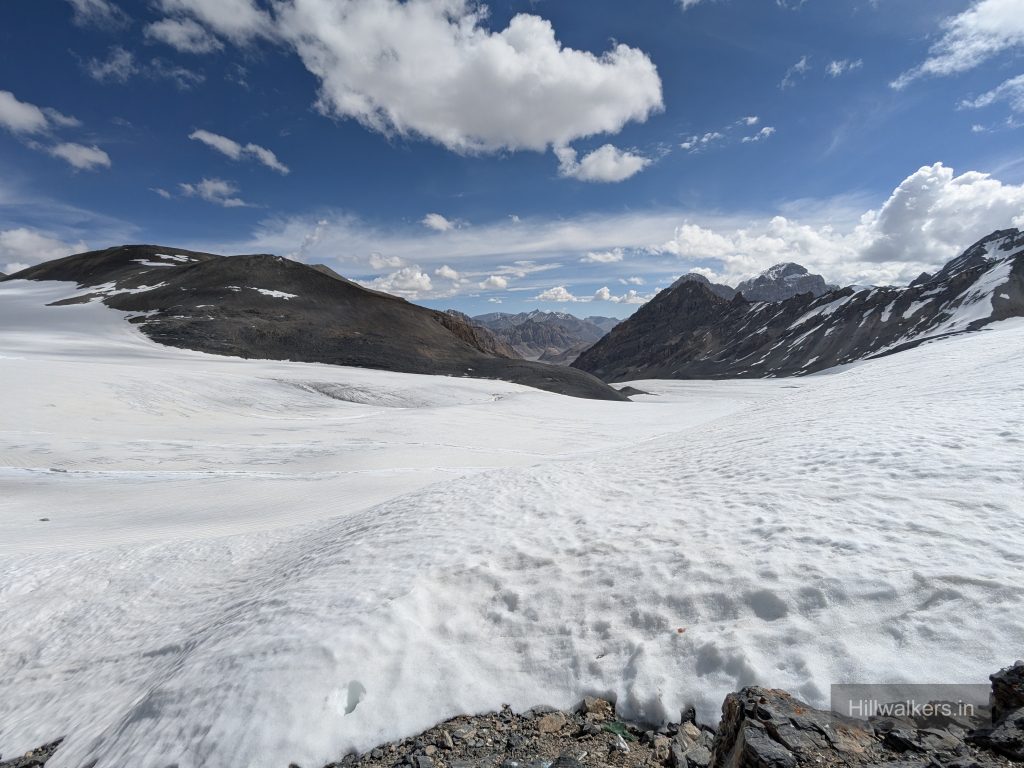
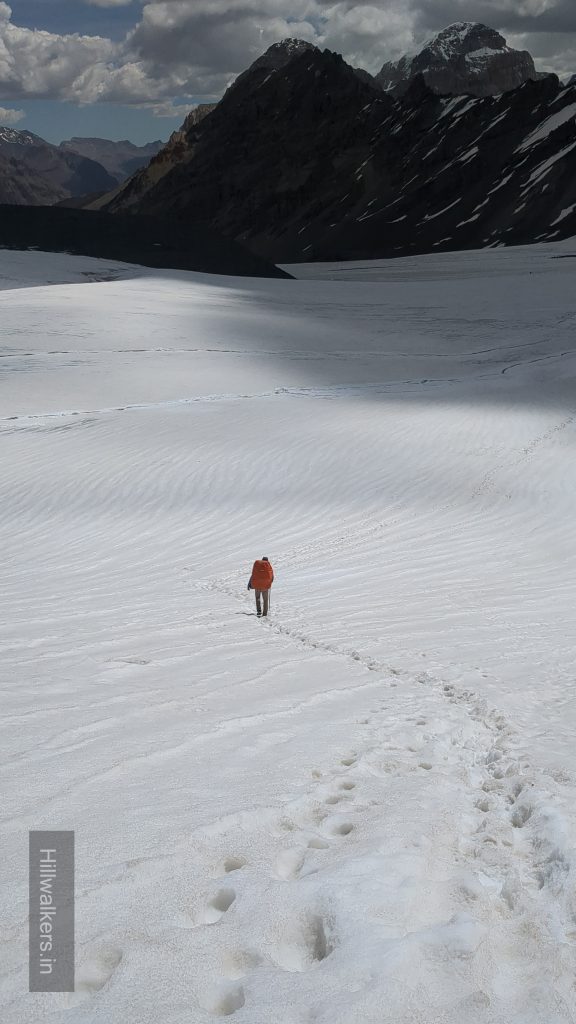
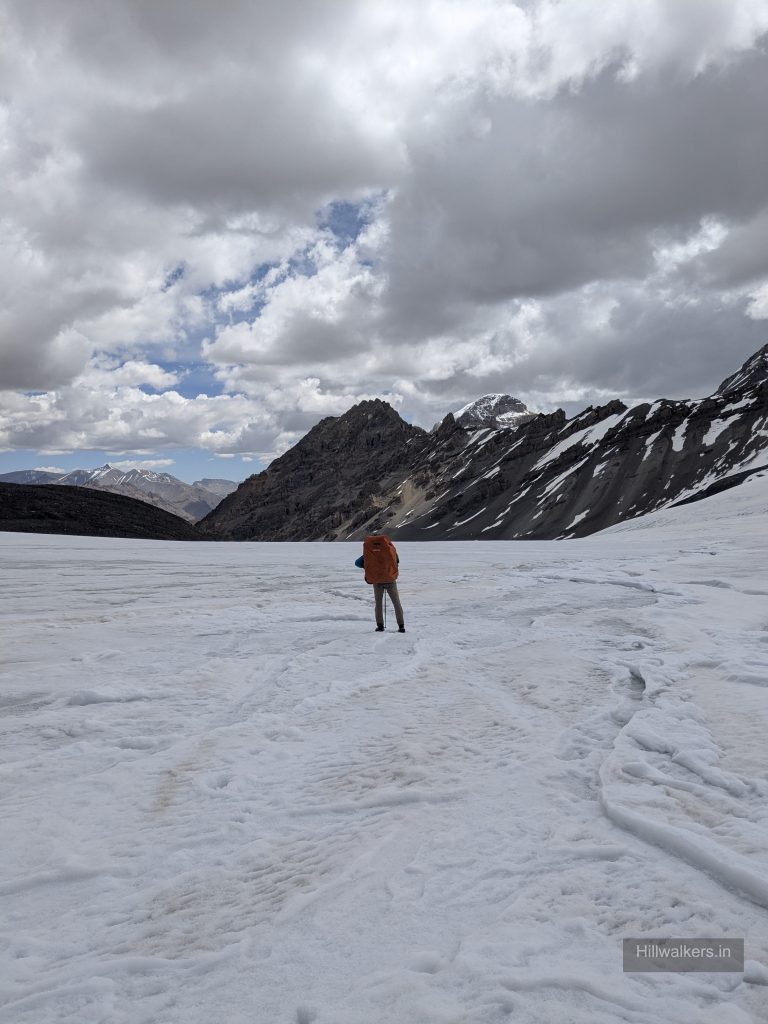
Depending on the season and current conditions, snow, ice, moraine and glacier terrain may be encountered around the pass.
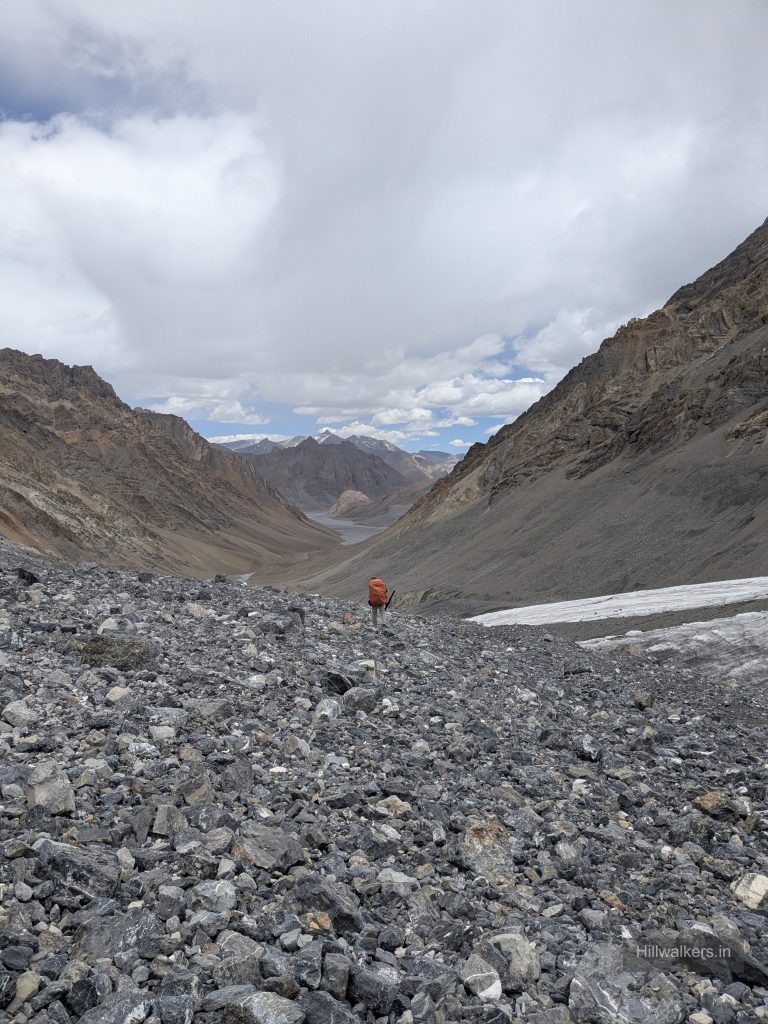
After crossing Parang La, the route descends towards Kharsa Yongma.
Current conditions matter more than an old GPX track, particularly around snow, ice and glacier sections.
Kharsa Yongma → Datang Yongma (4800m)→ Kapapuche (4650m) → Racholamo (4600m)→ Kibbo Rangza (4550m) → Norbu Sumdo (4500m)
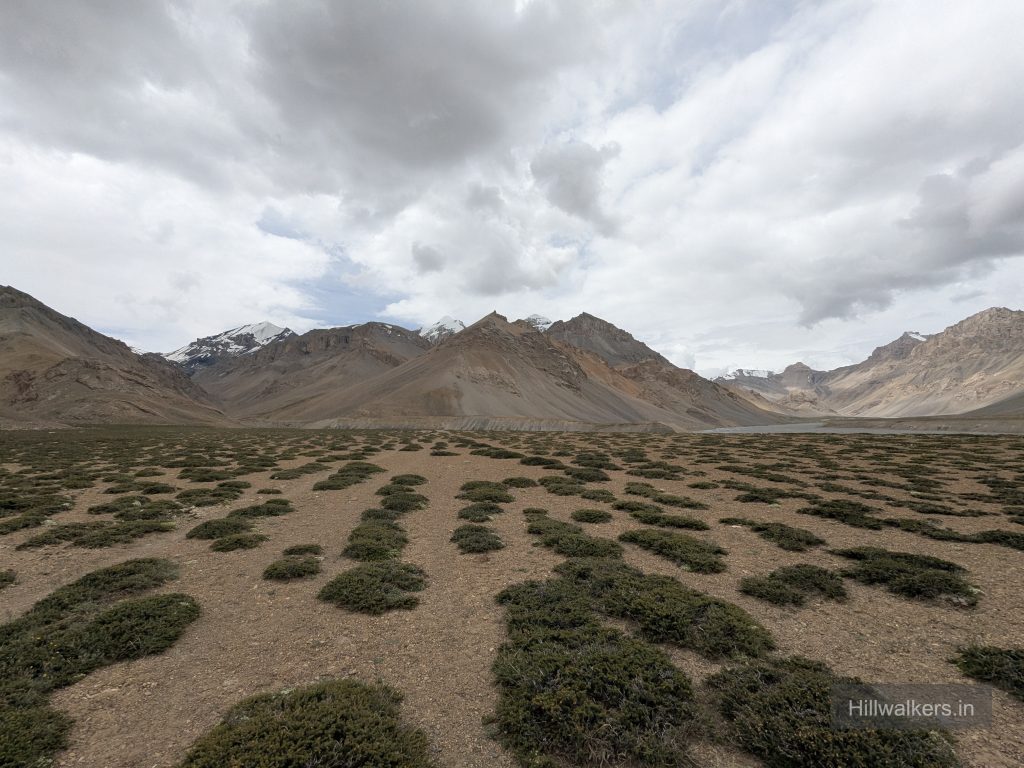
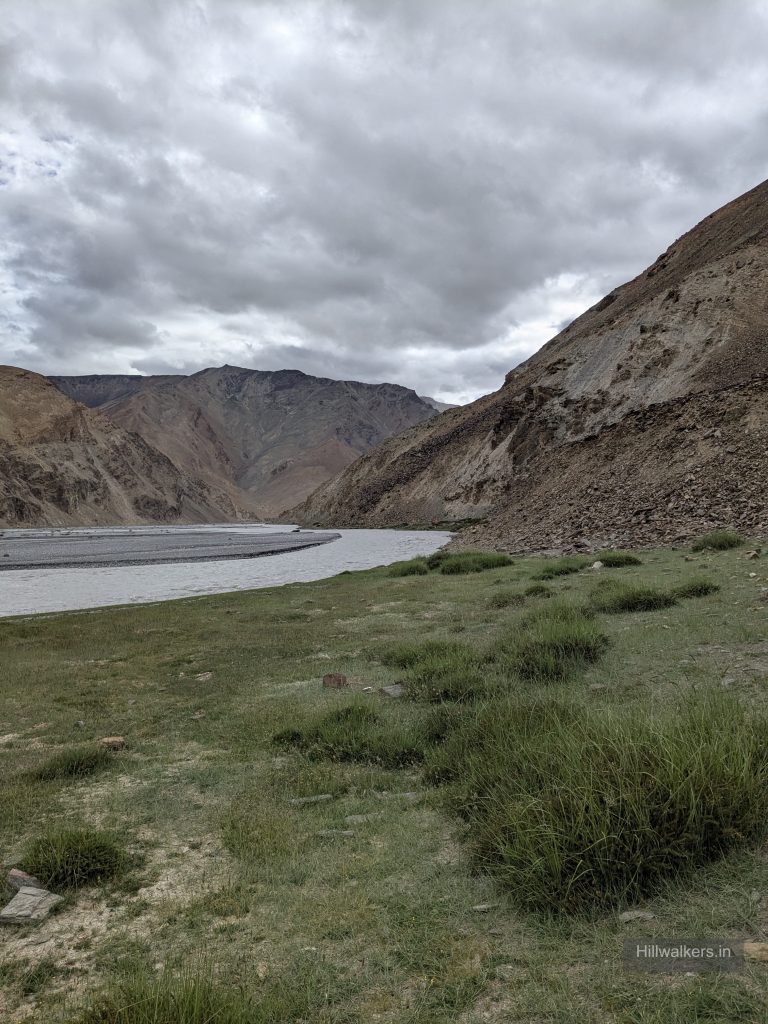
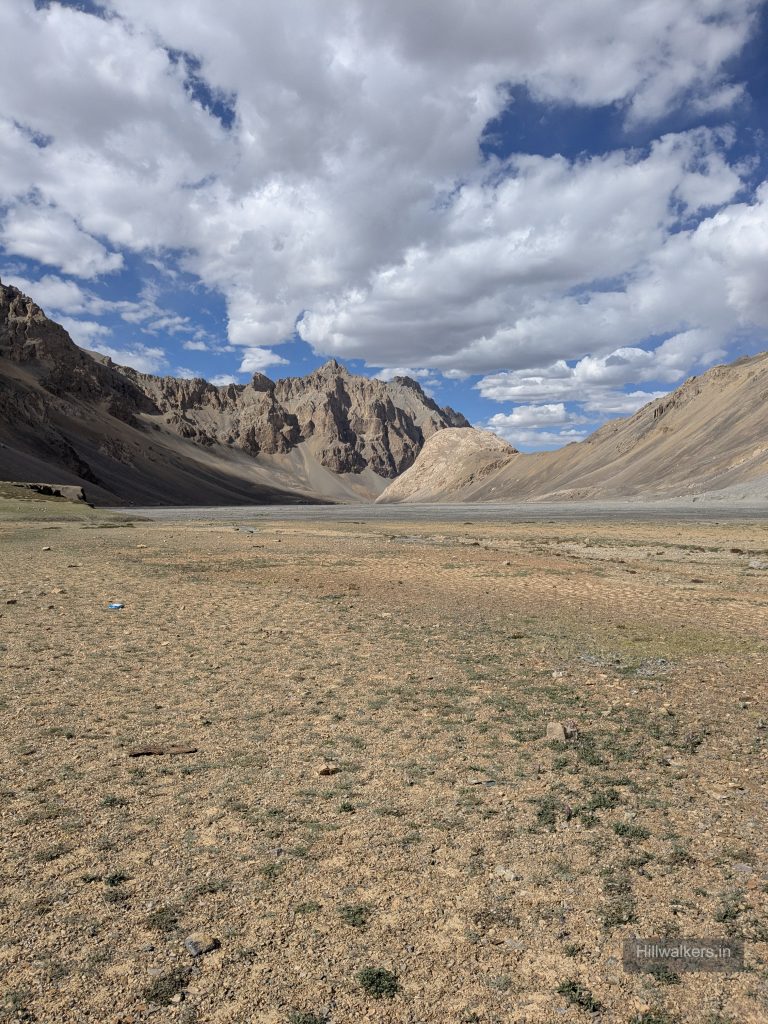
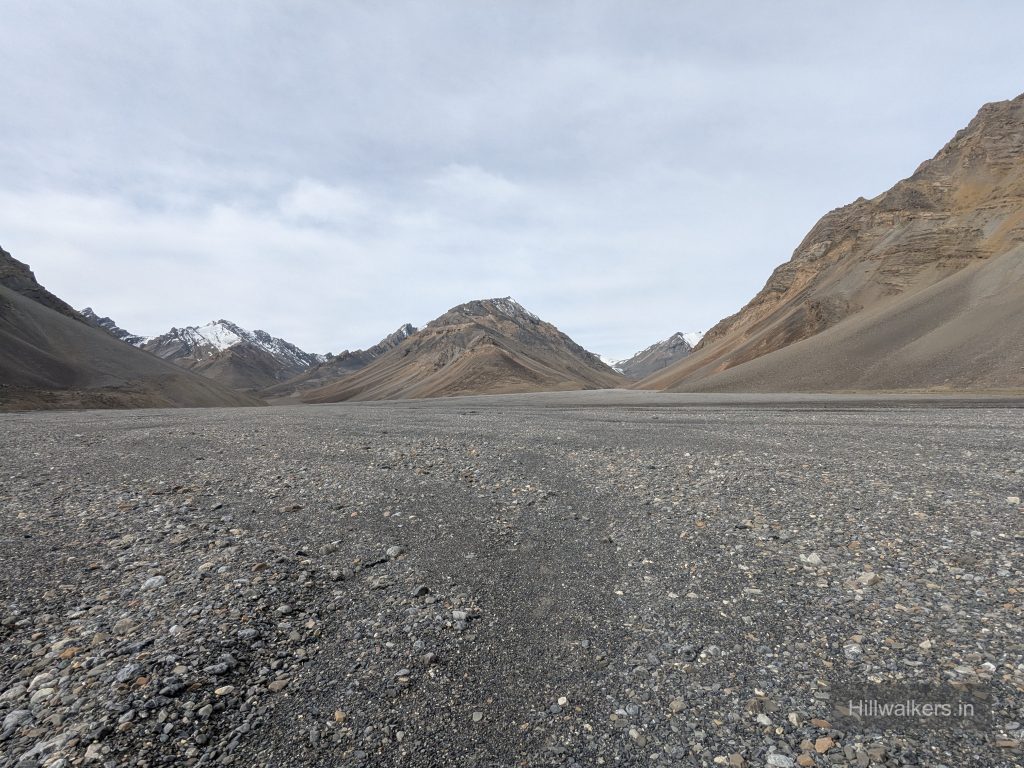
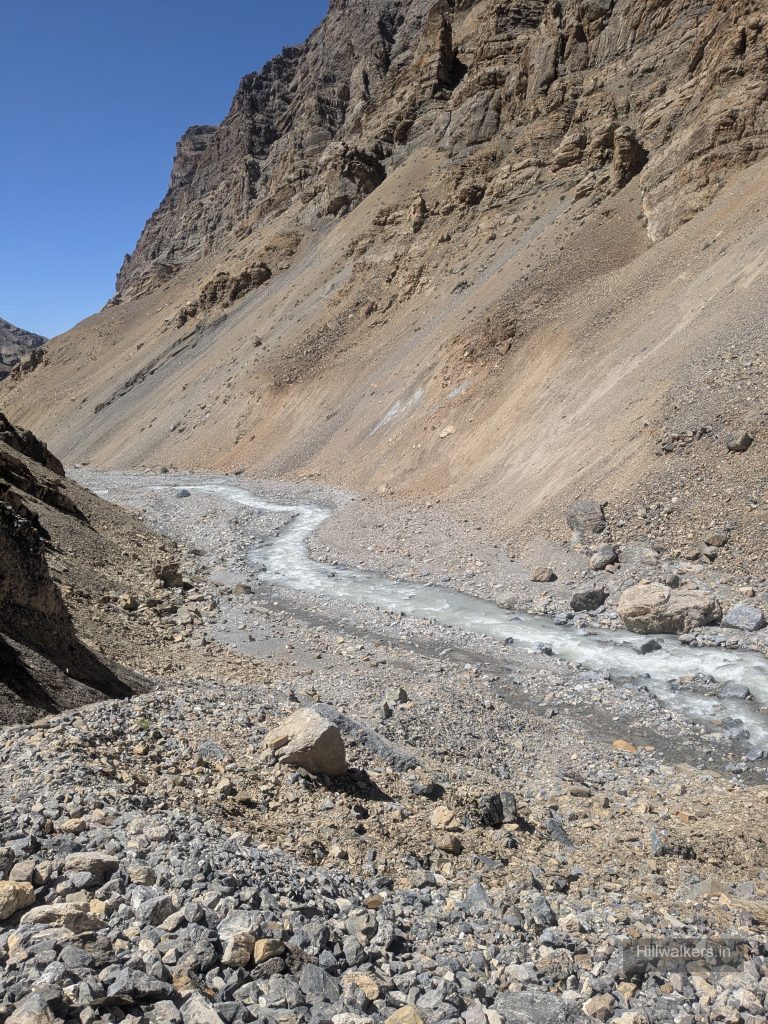
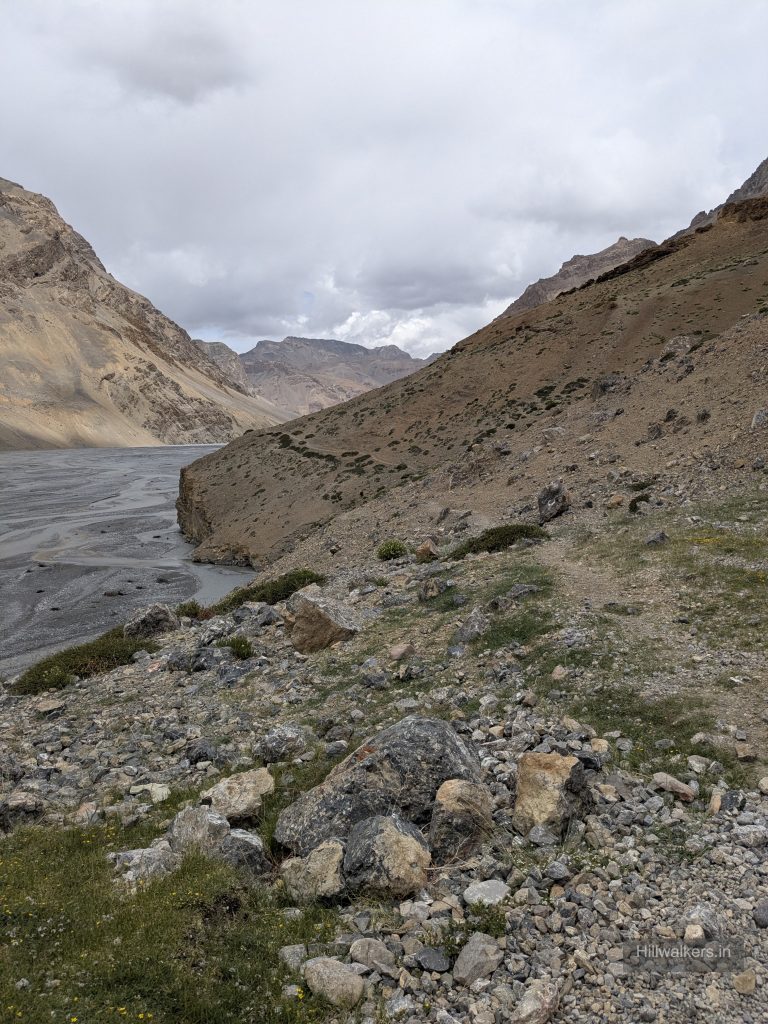
After Parang La, the landscape changes considerably. The route enters broad valleys and follows the Pare Chu through remote high altitude terrain.
Datang Yongma, Kapapuche and Racholamo are route points and possible camping areas documented along this section.
The campsite sequence is flexible. A strong team may cover a long section in a day, while another team may split it into shorter stages.
Your stopping point can depend on:
Team pace • Weather • Water • River conditions • Altitude • Suitable camping ground
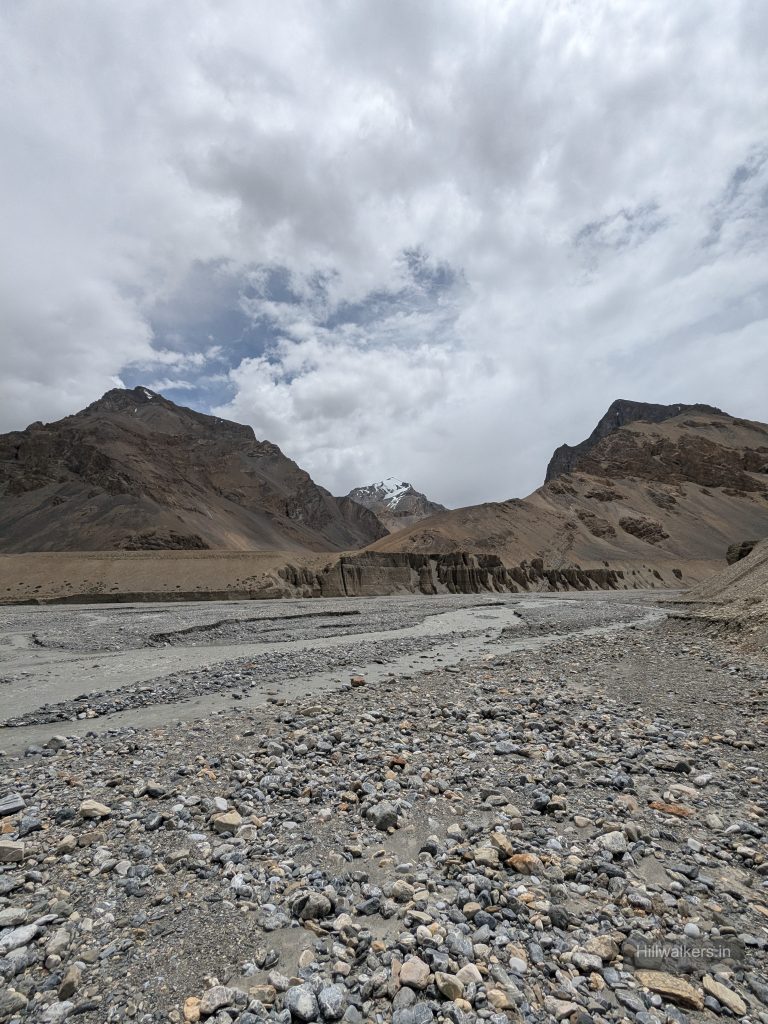
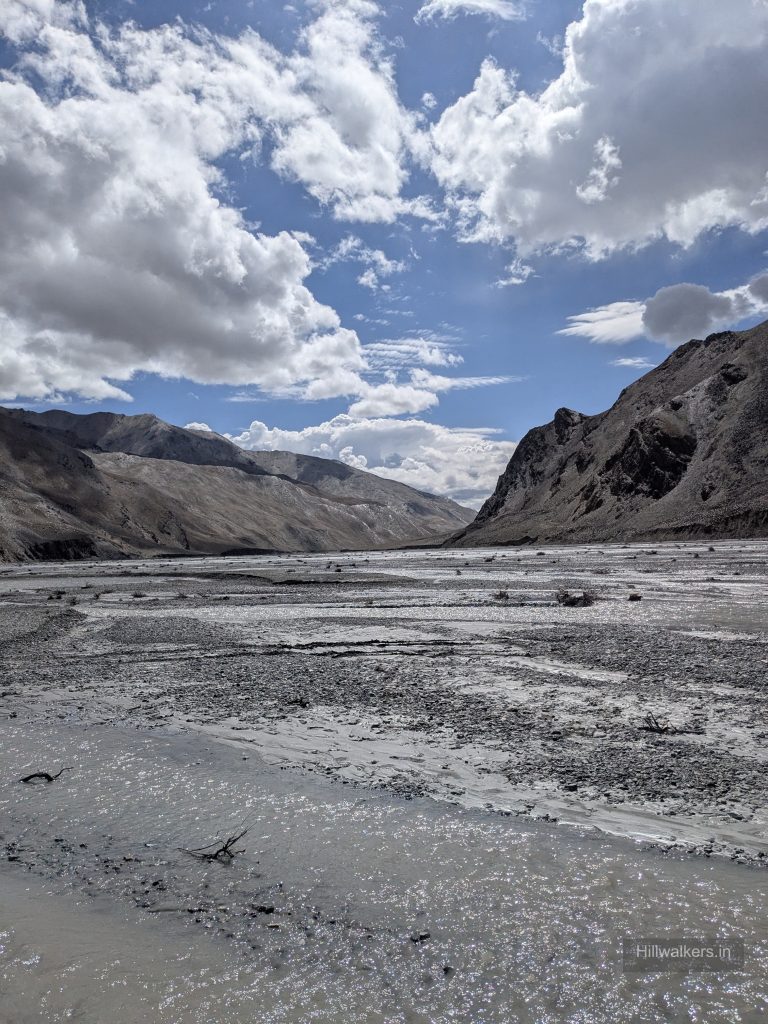
Pare Chu
The Pare Chu is one of the important challenges on this section.
Plan to assess and cross the Pare Chu in the morning whenever conditions allow.
Water levels can rise later in the day due to snow and glacier melt, making some crossings considerably more difficult.
Do not treat the crossing as a fixed waypoint. Assess the current water level, flow, crossing point and weather on the ground.
Norbu Sumdo → Korzok (4540m)
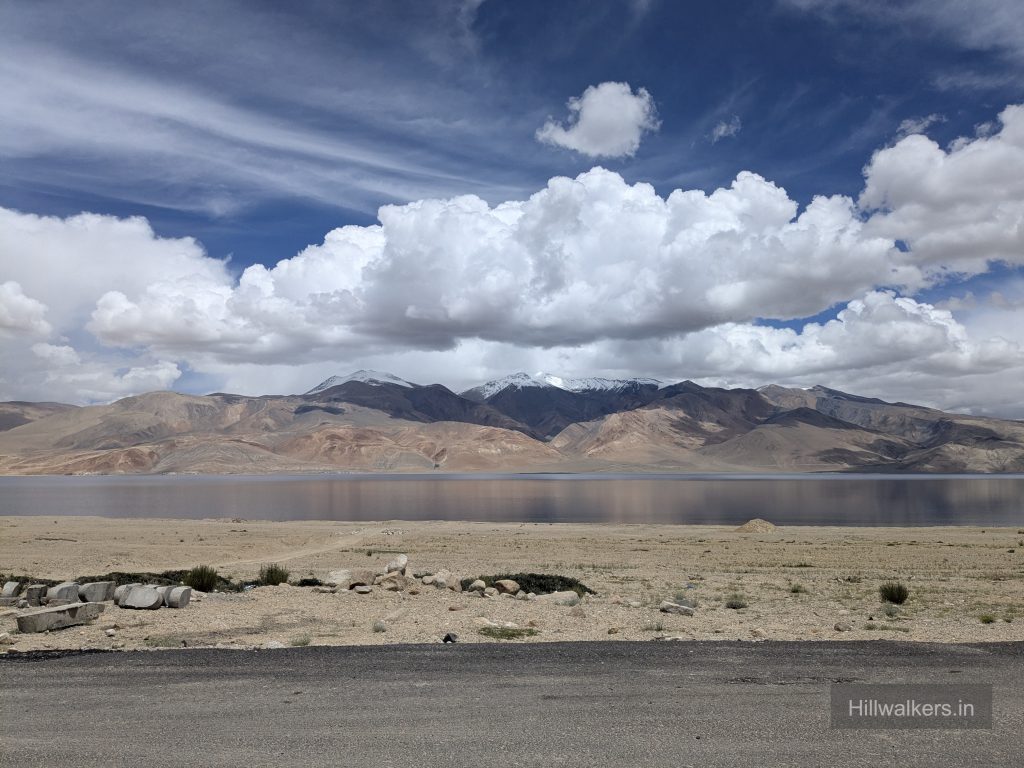
After crossing the Pare Chu at Norbu Sumdo, the route enters the Tso Moriri side.
The traditional trekking route continues through Chumik Shilde and Kiangdom before reaching Korzok.
However, road access has now extended from the Norbu Sumdo side towards Korzok, making this final section more flexible.
Depending on current road access and arrangements, trekkers can continue on foot or use a vehicle towards Korzok and Tso Moriri.
Check the current road and transport conditions locally before planning this section.
Opposite Direction
Korzok → Norbu Sumdo → Racholamo → Kapapuche → Datang Yongma → Kharsa Yongma → Parang La → Borochin → Thaltak → Chicham / Kibber
Parang La can also be completed from Tso Moriri towards Spiti.
This direction has a different altitude profile and acclimatisation strategy.
There is no universally better direction.
Choose based on acclimatisation, logistics, current conditions and the experience of your team.
How to reach
Chicham / Kibber
Kaza is the main logistical base for the Spiti side.
From Kaza, road transport can be arranged towards Kibber or Chicham.
Daily Bus runs at 5 PM from Kaza Bus stand towards kibber, chicham.
From Manali daily Bus runs at 6 AM for Kaza.
Exit from Karzok
The route finishes around Korzok and Tso Moriri.
From Korzok, road transport is required for onward travel towards Leh or another destination.
Shared taxis to Leh might be available depending upon season.
Map & Location
Base Village: Kibber/Chicham
District: Spiti & Lahaul
State: Himachal Pradesh
Nearest Railway Station: Chandigarh
Nearest Airport: Bhuntar
Region: Spiti / Changthang
Safety
Experienced Himalayan Trekkers
Comfortable walking several consecutive days and at higher altitude
High Altitude
River crossings
Glacier & Snow
Remoteness
Nearest Town : Chicham, Kaza
Carry current local emergency and rescue contacts before starting the trek
Practical Planning Tips
Parang La is better planned as a flexible route, not a fixed day by day itinerary.
• Plan around water. Before the pass, water and camping options are limited, with Thaltak and Borochin being important planning points.
• Keep camps flexible after the pass. Datang Yongma, Kapapuche and Racholamo are useful route points, but you don’t need to treat them as fixed daily camps.
• Cross the Pare Chu early. When conditions allow, plan the crossing in the morning. Water levels can become more challenging later in the day.
• Don’t chase distance. One team may cover 10 km while another may cover 30–35 km. Let altitude, terrain, weather and conditions decide your pace.
• Keep a buffer day. Weather, river conditions or problems around the pass can easily change your plan.
• Don’t rely only on an old GPX. The route, river crossings, snow and road access can change from season to season.
• Check the final road section. Road access now extends beyond Norbu Sumdo towards Korzok, so the traditional walking route may not be necessary all the way to Korzok.
Hillwalkers Note
The goal is not to complete Parang La in the fewest days. It’s to make good decisions along the way.
Know your next water source, assess the river before crossing, keep your campsite options flexible and be willing to change your plan when conditions demand it.
Respect the altitude. Respect the river. Respect the weather.
Gallery






FAQ
Didn’t find your question here? Contact us and we’ll be happy to help.